How To Install A Garbage Disposal Unit At Your Home – Step By Step Complete Beginner Guide

As you are going to do a purchase already, it will be better for your budget to install the unit by yourself. garbage disposal installation doesn’t involve too much plumbing knowledge nor special skill. Having enough space for you to get in there will be quite enough to fulfill the task. This complete guide will let you complete the installation process properly.
Remove The Existing Assembly And Prepare The New Kit
As the first step, you should take the kit out of the box. As there are not smaller parts not fragile parts, that will not be a hard task to do. As the next thing, you should remove the drain basket assembly and the P-trap from the sink. It is important to disconnect the waterline before detaching these parts. Also, it is essential to collect the water spilling from the sink. You will have to loosen the ring and the fasteners if the flange comes pre-assembled.
Apply Putty For A Fine Sealing
According to the brand, you might get a washer or a rubber gasket. You must remember that only putty can ensure the sealing. After rolling putty, you will be able to place it in the right spot, under the flange. The diameter of the putty roll should be more than 3/8” to match the optimum sealing. Cleaning the sink and especially around the corner will facilitate a proper environment for the fixing parts.
Fixing The Fastening System
The next step is the crucial one, fixing the flange. You should insert the flange from the upper side and the fastening system from the downside. It will be better if you get some support when performing these steps as well. You have to confirm that putty is visible when looking beyond the edge of the flange. You need to remove the excess putty as soon as a seal is created with the flange and the fastening system.
The mounting tape fixation is the final step of fixing the fastening system into the sink. You should fasten screws after the placing is completed. You should not over fasten the screws as it can bring difficulties in future repairs.
Some models are coming with a quick-mount or as an additional feature. You will be able to easily fix those parts using the mount in this part of the garbage disposal install.
Fixing Secure Tailpipe
Now you can start fixing the tailpipe from the side of the garbage disposal unit. You will get a metal ring for doing that. Also, it can be a metal bracket according to the Garbage Disposal unit that you get. It has to be performed with the rubber seal. Unless you will get to face leaks in the future.
Breakout Plate Is Vital If You Want Dishwasher
If you want to attach the dishwasher, you will have to locate the inlet port and the breakout plate inside it. Then you should gently be using a screwdriver and a small hammer. You should remember that it can damage the breakout plate with the hammer.
Wiring
If you don’t get a wire code along with the disposal unit, you will have to get the best one with the ratings. After removing the metal cover, you will be able to fix the code into the disposal unit.
Fixing The Garbage Disposal Unit
The garbage Disposal Unit should be fixed into the flange beneath the sink. You may fix it accurately by rotating the disposal unit and the mounting rings properly. As you have already fixed the fastening system, this will be an easy step.
Final Step
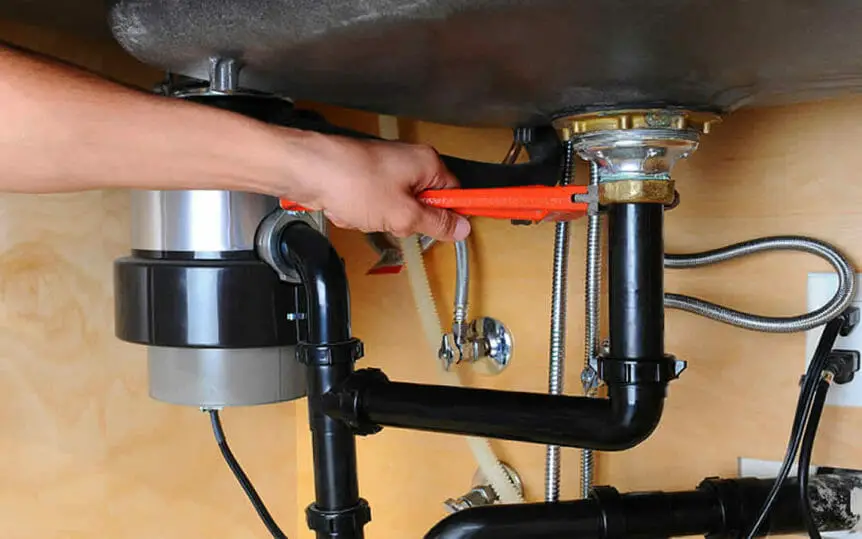
You can now connect the P-trap to the disposer unit. You can use a PVC cutter to cut the trapper as needed. Also, mounting screws should have rotated at least three rounds for a tight grip. You may tighten that as needed. However, it is important to leave a bit of loose grip on future necessaries.
It Is Ready To Use As the final thing to do, you can try adding water things into the sink. If there are leaks, you will have to add more putty into those points. If it is a severe one, the putty will have to be replaced. After all the things are set in positions, you will be able to connect the codes and check the engines. Also, the coding can be arranged without being disturbed today activities.
