20 Cute DIY Pencil Case Designs You’ll Love
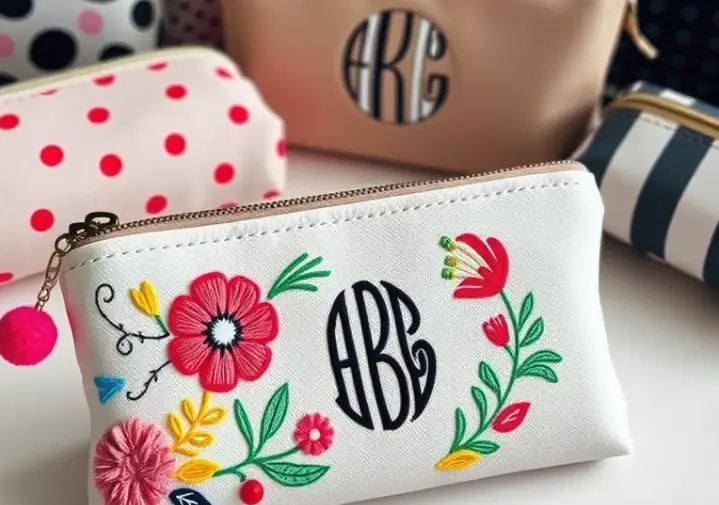
Are you tired of boring, generic storage for your stationery? You’re not alone. With the rise of DIY crafting, creating your own cute pencil cases has never been more popular.

According to recent crafting trends, making your own DIY pencil case is not only a fun project but also a great way to personalize your school or office supplies.
With a little creativity, you can turn simple materials into unique pencil case designs that reflect your personality.
In this article, we’ll explore 20 inspiring DIY projects to make your own cute storage solutions. From simple to complex designs, there’s something for every crafter.
Why DIY Pencil Cases Are Worth Your Time
Creating your own DIY pencil cases is not just a fun project, but it also provides practical advantages that store-bought cases can’t match.
By taking the time to craft your own storage solutions, you’re investing in a project that offers numerous benefits.
Benefits of Creating Your Own Storage Solutions
Making your own pencil case allows you to customize it according to your needs. You can choose the size, material, and design that best suits your style, ensuring that your storage solution is both functional and personalized.
This level of customization is particularly beneficial for individuals with specific organizational needs or preferences. Customization is key to maximizing the utility of your pencil case.

Sustainability and Cost-Effectiveness
One of the significant benefits of DIY pencil cases is their contribution to sustainable storage. By repurposing materials or using eco-friendly supplies, you reduce waste and minimize your environmental footprint.
Additionally, crafting your own pencil case can be cost-effective, as you can often use materials you already have at home, thereby reducing the need for new purchases.
Embracing cost-effective crafting methods not only saves money but also fosters creativity. It’s a way to turn potential waste into something useful, aligning with the principles of sustainability.
Essential Materials and Tools for DIY Pencil Case Projects
Before you begin making your DIY pencil case, it’s essential to gather the necessary materials and tools.
Having the right supplies on hand will ensure that your project is a success and that you can enjoy the process of creating something unique.
Basic Supplies You’ll Need
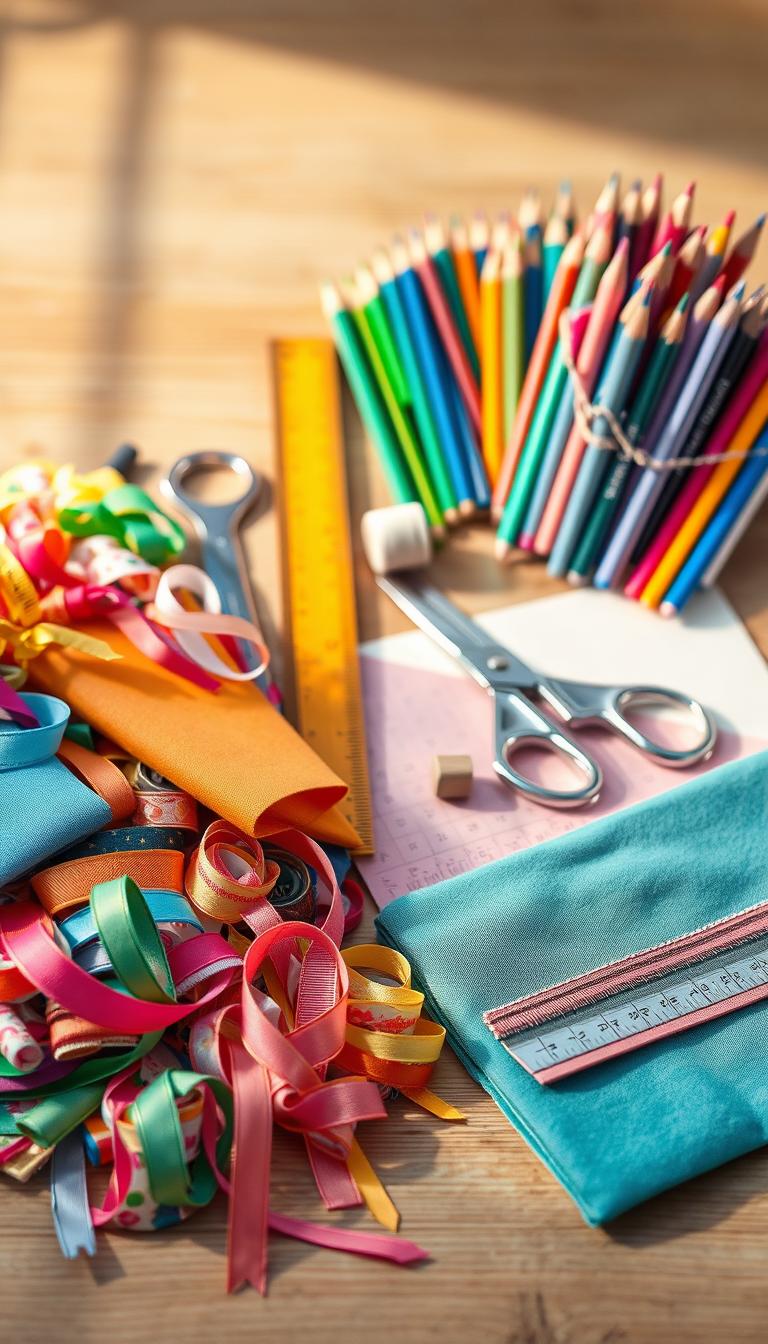
To start your DIY pencil case project, you’ll need some basic supplies. These include fabric of your choice, a measuring tape or ruler, scissors, and a sewing machine if you’re planning to sew your case.
You may also need a zipper or other closure, thread, and any embellishments you want to add, such as buttons or ribbons.
Optional Tools for Advanced Designs
If you’re looking to create more advanced DIY pencil case designs, you may want to consider using additional tools.
These can include a serger for finishing seams, a rotary cutter for more precise cutting, or a heat press if you’re using fabric paint or iron-on designs. You can also use decorative stitching on your sewing machine or add intricate details with embroidery floss.
Fabric-Based Pencil Case Designs
DIY fabric pencil cases are not only functional but also a great way to express your personal style. With a variety of materials and techniques to choose from, you can create a pencil case that suits your needs and preferences.
1. Classic Zippered Fabric Pencil Case
The classic zippered fabric pencil case is a timeless design that is both easy to make and practical to use. This design allows you to showcase your favorite fabrics while keeping your pencils and pens organized.
Materials Needed
- 1 piece of fabric (approx. 8″x6″)
- 1 zipper (approx. 6″ long)
- Thread
- Sewing machine
Step-by-Step Instructions
- Cut out two fabric pieces to the desired size.
- Place the zipper between the two fabric pieces and sew in place.
- Turn the pencil case right side out and fill with pencils or pens.

2. No-Sew Felt Pencil Pouch
- For those who prefer not to sew, a no-sew felt pencil pouch is a great alternative. This design is quick, easy, and requires minimal materials.
Materials Needed
- 1 piece of felt (approx. 8″x6″)
- Hot glue gun
- Felt glue or fabric adhesive
Step-by-Step Instructions
- Cut out the felt to the desired size.
- Fold the felt in half and glue the sides together.
- Allow the glue to dry before filling with pencils or pens.
3. Patchwork Denim Pencil Holder
A patchwork denim pencil holder is a creative way to reuse old denim fabric. This design adds a touch of rustic charm to your pencil case.
Materials Needed
- Scraps of denim fabric
- 1 piece of backing fabric (approx. 8″x6″)
- Thread
- Sewing machine
Step-by-Step Instructions
- Cut out denim scraps into desired shapes or sizes.
- Sew the denim pieces onto the backing fabric in a patchwork pattern.
- Add any additional embellishments before using as a pencil holder.
Upcycled Pencil Case Ideas for Eco-Conscious Crafters
As an eco-conscious crafter, I’m always on the lookout for innovative ways to repurpose materials, and upcycled pencil cases are a great place to start. By giving old materials a new life, we can reduce waste and create unique, functional items.
Upcycling is not only good for the environment, but it also allows us to express our creativity and make one-of-a-kind pencil cases. Here are a few ideas to get you started:
4. Repurposed Jean Pocket Pencil Case
Transforming old jeans into a pencil case is a great way to reuse and recycle. Here’s how you can do it:
Materials Needed
- Old jeans
- Scissors
- Needle and thread
- Zipper or other closure
Step-by-Step Instructions
- Cut out a pocket from the jeans, making sure it’s large enough for your pencils.
- Sew or glue the edges to prevent fraying.
- Add a zipper or other closure to keep your pencils secure.
5. Transformed Plastic Bottle Pencil Holder
With a little creativity, a plastic bottle can become a functional pencil holder. Here’s how:
Materials Needed
- Plastic bottle
- Scissors
- Glue
- Decorative materials (optional)
Step-by-Step Instructions
- Cut the plastic bottle to the desired height.
- Clean and dry the bottle.
- Decorate the bottle with paint, stickers, or other materials if desired.
6. Old T-shirt Pencil Roll-Up
An old T-shirt can be transformed into a practical pencil roll-up. Here’s how:
Materials Needed
- Old T-shirt
- Scissors
- Needle and thread
- Ribbon or elastic
Step-by-Step Instructions
- Cut a rectangle from the T-shirt.
- Sew pockets along one edge for the pencils.
- Roll up the T-shirt and secure with a ribbon or elastic.
These upcycled pencil case ideas not only help reduce waste but also provide a creative outlet for eco-conscious crafters. By repurposing materials, we can create unique and functional items that reflect our personal style.
Quick and Easy Pencil Case Projects for Busy People
Busy individuals can still enjoy crafting with these quick and easy pencil case projects.
In today’s fast-paced world, finding time for DIY activities can be challenging, but with these simple ideas, you can create something useful without dedicating hours to your craft.

7. 15-Minute Duct Tape Pencil Pouch
Creating a pencil pouch with duct tape is a fun and easy project that can be completed in just 15 minutes. This is a great option for those who are new to crafting or are short on time.
Materials Needed
- Duct tape
- Scissors
- A ruler or other straight edge
Step-by-Step Instructions
- Cut a piece of duct tape to the desired length for your pencil pouch.
- Fold the tape in half, sticky side in, to create a seam.
- Use the scissors to trim any excess tape.
8. Paper Envelope Pencil Sleeve
Transforming a paper envelope into a pencil sleeve is another quick and easy project. This is a great way to reuse old envelopes and create something useful.
Materials Needed
- A paper envelope
- Scissors
- Glue or tape
Step-by-Step Instructions
- Cut the envelope to the desired size for your pencil sleeve.
- Fold the envelope to create a sleeve.
- Secure the sleeve with glue or tape.
9. Instant Zipper Pouch from Placemats
Using placemats to create a zipper pouch is a creative way to reuse old materials. This project is quick, easy, and results in a functional pencil case.
Materials Needed
- Placemats
- A zipper
- Scissors
- Sewing machine
Step-by-Step Instructions
- Cut the placemats to the desired size.
- Sew the zipper in place.
- Complete the pouch by sewing the sides together.
Themed Pencil Case Designs for Every Personality
Themed pencil cases offer a creative outlet for self-expression and can be tailored to suit any personality.
Whether you’re an animal lover, a superhero fan, or someone who appreciates the beauty of nature, there’s a themed pencil case design that’s perfect for you.

10. Animal-Shaped Pencil Pouches
Animal-shaped pencil pouches are a delightful way to store your stationery. They come in various shapes and sizes, from cute cats and dogs to exotic animals like pandas and koalas.
Materials Needed
- Fabric of your chosen animal design
- Thread
- Stuffing material
- Zip or Velcro for closure
Step-by-Step Instructions
- Cut out the animal shape from your fabric, ensuring you have two identical pieces.
- Sew around the edges, leaving a small gap for turning the pouch right side out.
- Turn the pouch right side out and fill it with stuffing material.
- Close the gap by hand or with a sewing machine.
- Add a zip or Velcro for closure.
11. Superhero-Inspired Pencil Cases
For the superhero fans, creating a pencil case inspired by your favorite character can be a fun project. You can use fabric with superhero logos or designs to make it more personalized.
Materials Needed
- Superhero-themed fabric
- Black or matching thread
- Zip or Velcro
- Interfacing for stability (optional)
Step-by-Step Instructions
- Cut out a rectangle from your superhero-themed fabric.
- Interface the fabric if you want a stiffer pencil case.
- Sew the sides and bottom, leaving the top open.
- Attach a zip or Velcro to the top for closure.
12. Nature-Themed Pencil Holders
Nature-themed pencil holders can bring a touch of the outdoors to your workspace. You can create a pencil holder that resembles a flower pot, a leaf, or any other natural element.
Materials Needed
- Green fabric or felt for a leaf design
- Terracotta or brown fabric for a flower pot design
- Thread
- Glue or hot glue gun
Step-by-Step Instructions
- Cut out the shape of your chosen natural element.
- Sew or glue the edges together, leaving a small opening.
- Turn the holder right side out if necessary.
- Fill with pencils or pens.
These themed pencil case designs not only add a personal touch to your stationery but also make for great gifts. You can customize them according to the recipient’s interests, making it a thoughtful and personalized gift.
Innovative Pencil Case Designs with Multiple Compartments
The quest for the perfect pencil case often leads to innovative designs, particularly those with multiple compartments for enhanced organization.
As users, we appreciate the extra functionality that these designs bring to our daily lives. In this section, we’ll explore two such innovative designs: the Accordion-Style Expanding Pencil Case and the Multi-Pocket Artist’s Tool Organizer.
13. Accordion-Style Expanding Pencil Case
The Accordion-Style Expanding Pencil Case is a brilliant solution for those who need flexibility in their storage. This design allows the pencil case to expand when more space is needed and contract when it’s not, making it highly versatile.
Materials Needed
- Durable fabric for the exterior
- Soft material for the interior lining
- Zip or other fastening mechanism
- Measuring tape or ruler
- Scissors
Step-by-Step Instructions
- Measure and cut out the fabric according to your desired dimensions.
- Sew the pieces together, leaving space for the zip or fastening mechanism.
- Attach the zip or fastening mechanism.
- Add any additional features like interior pockets.
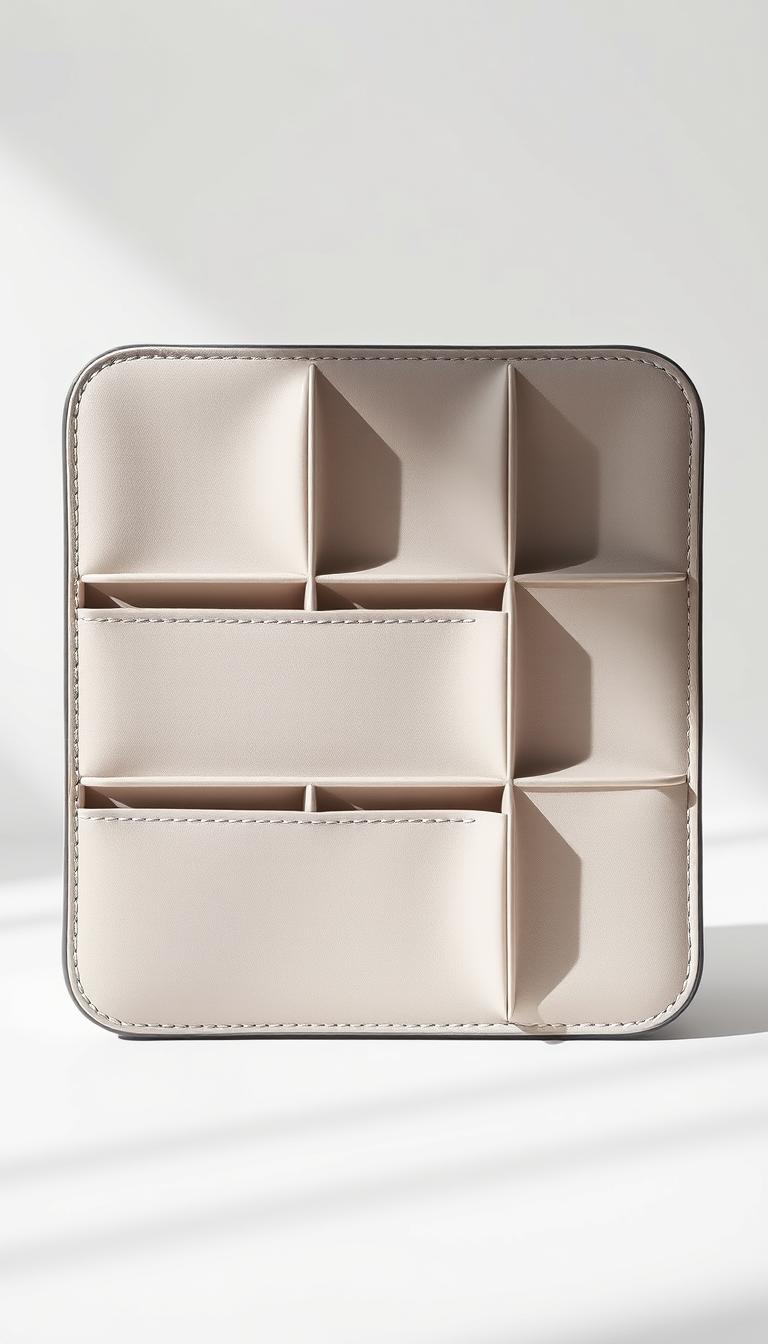
14. Multi-Pocket Artist’s Tool Organizer
For artists and crafters, the Multi-Pocket Artist’s Tool Organizer is a dream come true. This design features multiple pockets of varying sizes to accommodate different tools and supplies.
Materials Needed
- Sturdy fabric or canvas
- Various sizes of pockets or pouches
- Adhesive or sewing materials
- Scissors
- Measuring tape
Step-by-Step Instructions
- Plan the layout of your pockets based on the size and type of tools you need to store.
- Cut out the pockets or pouches to the required sizes.
- Attach the pockets to the main fabric using adhesive or by sewing.
- Ensure the pockets are securely attached and can hold the intended items.
By incorporating these innovative designs into your daily routine, you can enjoy a more organized and efficient workspace.
Waterproof Pencil Case Options for Extra Protection
When it comes to storing your writing utensils, having a waterproof pencil case can be a game-changer. Whether you’re an artist, writer, or student, keeping your pencils and pens dry is essential.
In this section, we’ll explore two fantastic options for waterproof pencil cases that offer extra protection against water and moisture.
15. Laminated Fabric Pencil Pouch
A laminated fabric pencil pouch is a great way to keep your writing utensils dry. The lamination process involves applying a waterproof layer to the fabric, making it perfect for use in wet environments.
Materials Needed
- Laminated fabric
- Zipper or velcro
- Thread
- Scissors
Step-by-Step Instructions
- Cut the laminated fabric to the desired size.
- Sew the sides of the fabric together, leaving a small opening.
- Insert the zipper or velcro and sew it in place.
- Turn the pouch right side out and fill it with your writing utensils.
16. Vinyl Transparent Pencil Case
A vinyl transparent pencil case is another excellent option for storing your writing utensils. The clear vinyl allows you to see what’s inside, making it easy to find what you need.
Materials Needed
- Vinyl sheet
- Zipper or snap
- Scissors
- Glue
Step-by-Step Instructions
- Cut the vinyl sheet to the desired size.
- Attach the zipper or snap to the top of the vinyl.
- Seal any edges with glue to prevent water from seeping in.
- Fill the pencil case with your writing utensils.

Decorative Techniques to Elevate Your DIY Pencil Case
Elevate your DIY pencil case game with decorative techniques that add a personal touch. By incorporating unique designs and embellishments, you can transform a simple pencil case into a beautiful accessory that reflects your personality.
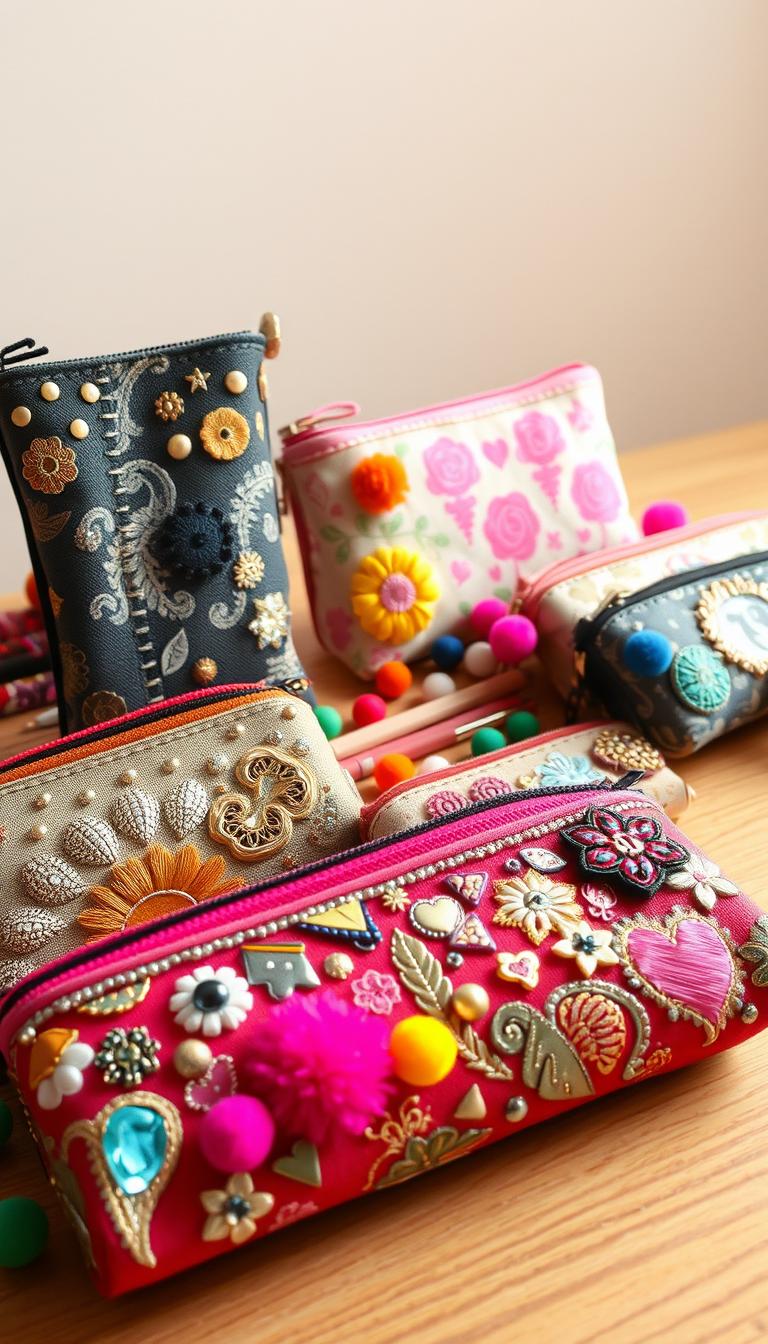
17. Hand-Embroidered Pencil Pouch
A hand-embroidered pencil pouch is a charming way to add a decorative touch to your DIY project. With a few simple stitches, you can create a beautiful design that makes your pencil case stand out.
Materials Needed
- Embroidery floss
- Needle
- Fabric pencil case
Step-by-Step Instructions
- Choose your embroidery design and thread your needle.
- Sew your design onto the fabric pencil case using simple stitches.
- Tie a knot to secure the thread and trim excess floss.
18. Painted Canvas Pencil Case
A painted canvas pencil case is another great way to add a decorative flair to your DIY project. Using acrylic paints, you can create a unique design that makes your pencil case truly special.
Materials Needed
- Acrylic paints
- Canvas pencil case
- Paintbrushes
Step-by-Step Instructions
- Choose your paint design and prepare your canvas pencil case.
- Paint your design onto the canvas using acrylic paints and paintbrushes.
- Allow the paint to dry completely before using your pencil case.
By incorporating these decorative techniques into your DIY pencil case project, you can create a truly unique and personalized accessory that showcases your creativity.
Seasonal Pencil Case Projects for Special Occasions
Whether it’s back-to-school season or the holiday period, making seasonal pencil cases is a great way to get creative. Crafting pencil cases for different occasions can add a personal touch to your storage solutions.
19. Back-to-School Special Pencil Organizer
Creating a back-to-school pencil organizer is a fun project that can help you stay organized throughout the school year. Here’s how to make one:
Materials Needed
- Colorful fabric
- Zipper or velcro
- Thread
- Scissors
- Measuring tape
Step-by-Step Instructions
- Measure and cut the fabric to the desired size.
- Sew the sides and bottom of the pencil case.
- Attach the zipper or velcro for closure.
- Add any decorative elements, such as ribbons or patches.
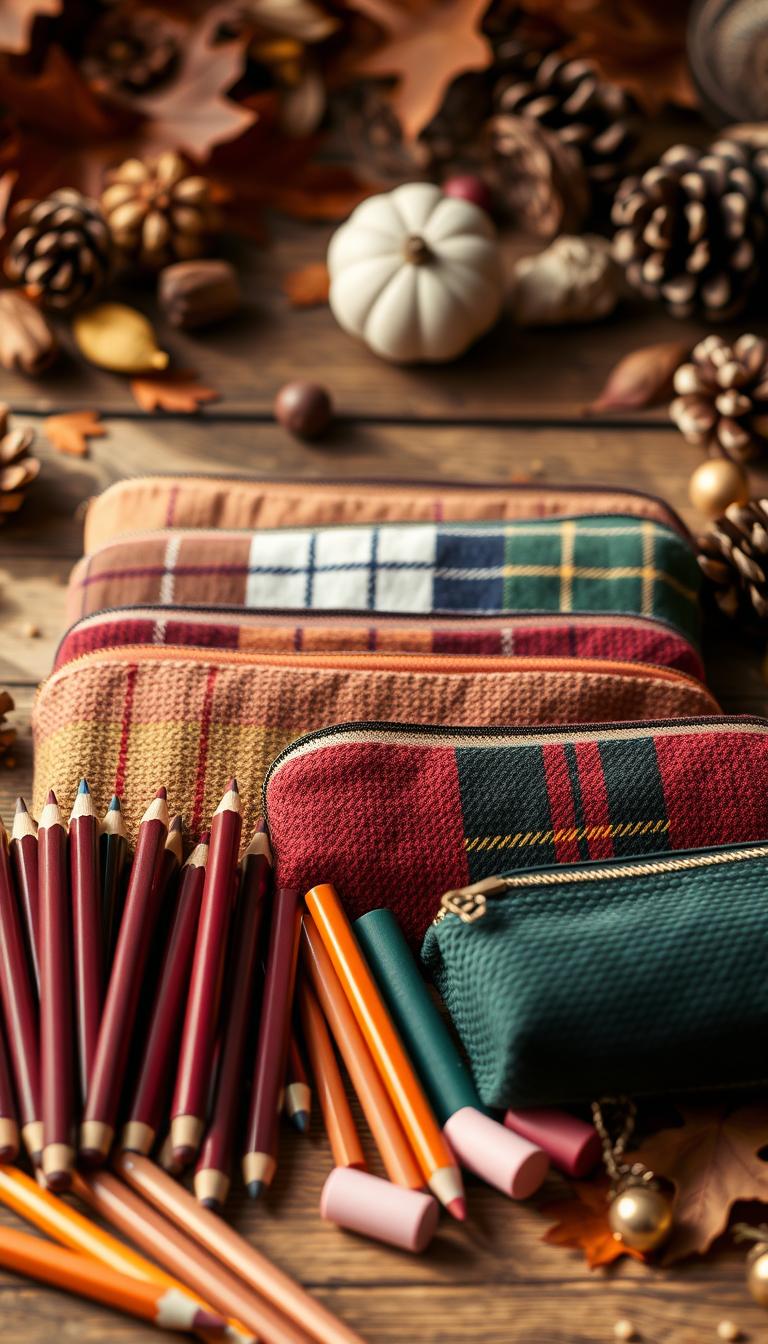
20. Holiday-Themed Gift Pencil Cases
During the holiday season, consider making holiday-themed gift pencil cases for friends and family. These make thoughtful and practical gifts.
Materials Needed
- Festive fabric
- Red or green ribbon
- Glitter or other embellishments
- Sewing kit
Step-by-Step Instructions
- Cut out the fabric in a holiday-themed shape or pattern.
- Sew the pencil case, leaving a small opening.
- Turn it inside out and add embellishments.
- Close the opening by hand or with a sewing machine.
By making seasonal pencil cases, you can enjoy the process of crafting while creating something useful for yourself or as a gift.
Tips for Personalizing Your DIY Pencil Case
With a few simple steps, you can turn your DIY pencil case into a one-of-a-kind accessory. Personalizing your pencil case not only makes it unique but also adds a touch of your personality to this everyday item.
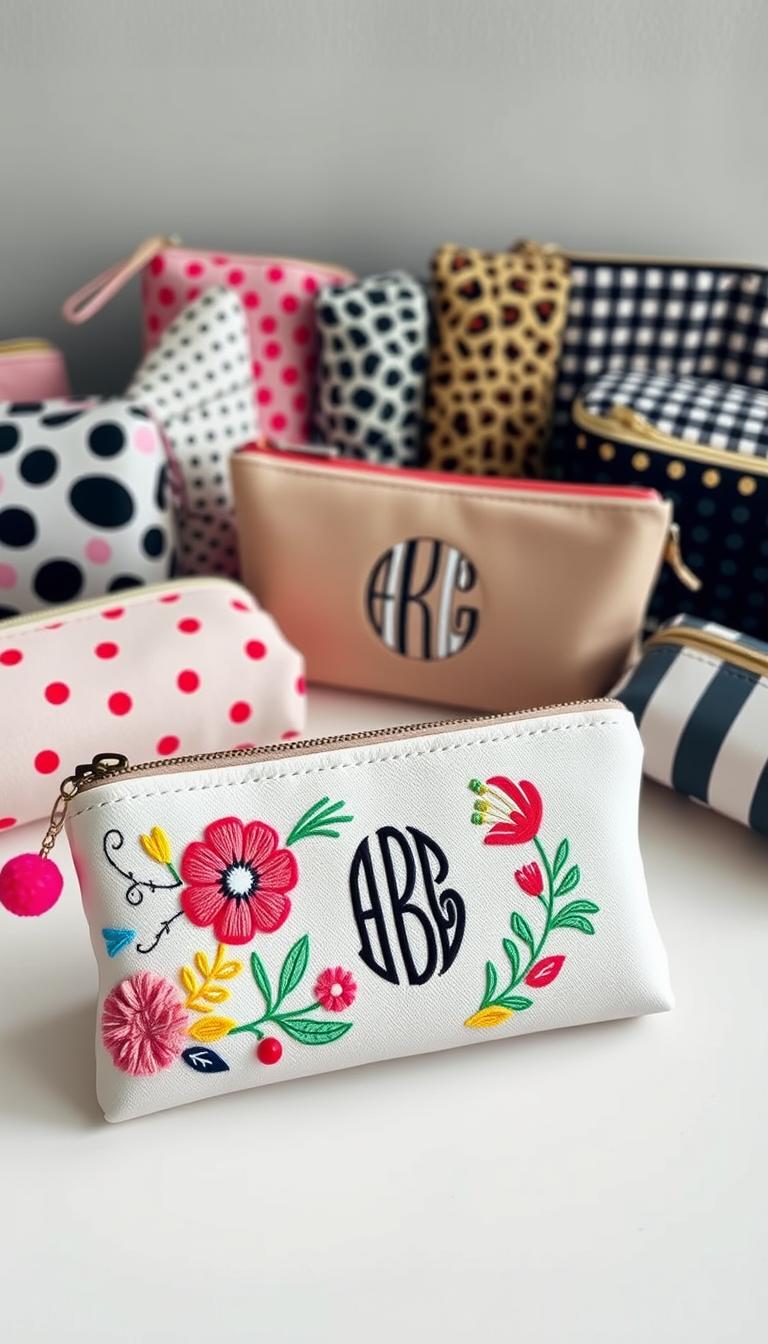
One of the most effective ways to personalize your DIY pencil case is by adding distinctive elements that reflect your identity or style.
Adding Names and Monograms
Adding names or monograms is a classic way to personalize your pencil case. You can use embroidery, iron-on transfers, or even paint to add your initials.
This not only makes your pencil case stand out but also gives it a touch of elegance. For instance, I recently personalized my pencil case with a simple monogram using embroidery floss, and it completely transformed its look.
Incorporating Favorite Colors and Patterns
Incorporating your favorite colors and patterns is another great way to make your pencil case truly yours. Whether you prefer bright colors, pastel shades, or bold patterns, you can choose materials that reflect your style.
For example, if you love polka dots, you can use a polka dot fabric for your pencil case. This will not only make it visually appealing but also give it a customized look that matches your personality.
Common Mistakes to Avoid When Making DIY Pencil Cases
As you embark on making your own DIY pencil cases, being aware of common mistakes can save you time and frustration. I’ve learned that avoiding certain pitfalls can make a significant difference in the quality of your finished product.
Material Selection Errors
One of the most critical aspects of making a successful DIY pencil case is selecting the right materials. Choosing a fabric that’s too thin or flimsy can result in a case that doesn’t hold its shape.
I recommend opting for sturdy cotton or canvas for a durable finish. Additionally, ensure your zippers or closures are robust enough to withstand daily use.
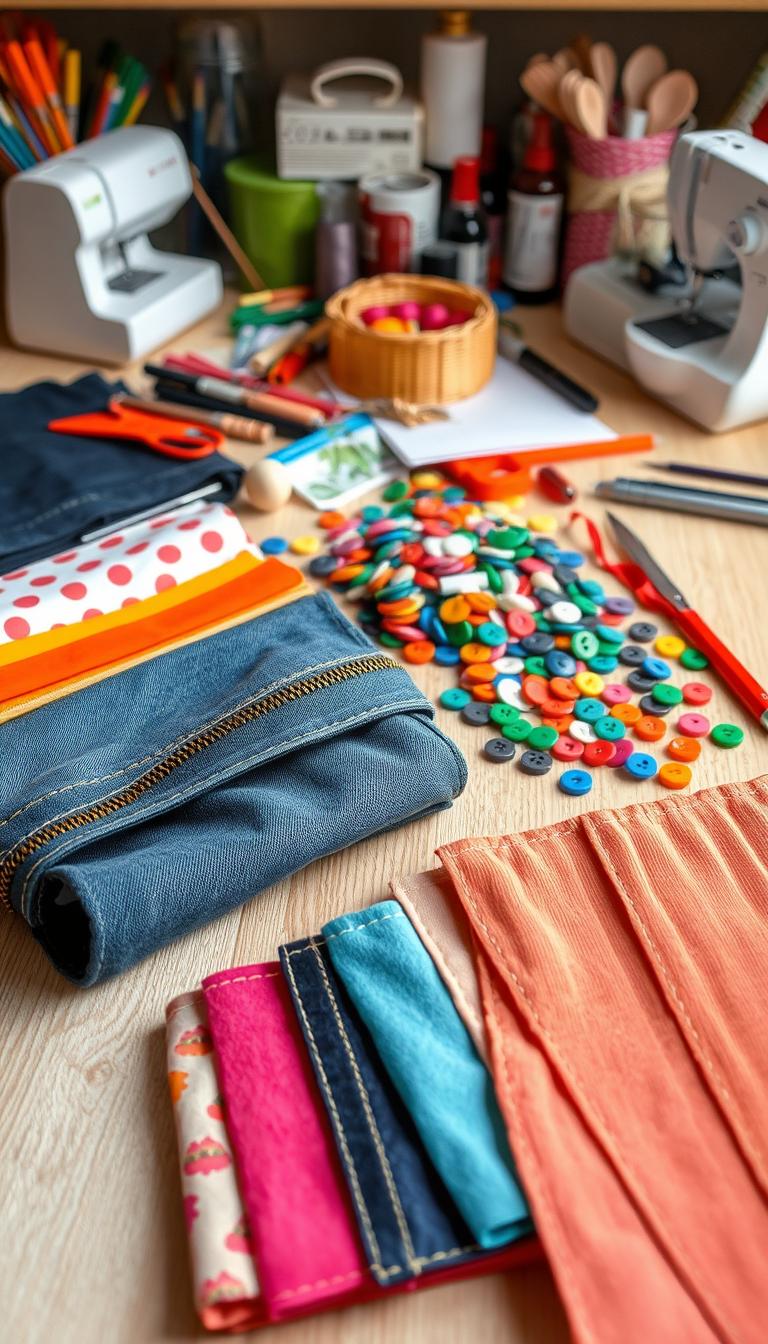
Construction Pitfalls
Even with the right materials, construction mistakes can still occur. Inaccurate measurements can lead to a poorly fitting lid or uneven seams.
To avoid this, take your time when cutting out your fabric pieces, and double-check your measurements.
Another common mistake is not reinforcing stress points, such as where the zipper is attached. Adding a layer of interfacing or reinforcement can significantly enhance the durability of your pencil case.
Your Creative Journey: Finding Joy in Handmade Pencil Cases
As I reflect on the world of handmade crafts, I’m reminded of the joy that comes from creating something with our own hands.
Making DIY pencil cases is more than just a fun activity; it’s a way to express our creativity and bring a personal touch to our daily lives.
Embarking on this creative journey allows us to explore different materials, techniques, and designs. With each new project, we discover new ways to express ourselves and add a touch of personality to our handmade crafts.
The process of creating something from scratch brings a sense of accomplishment and pride in our work.
The joy in crafting is not just about the end result; it’s about the journey itself. As we work on our DIY pencil cases, we develop our skills, experiment with new ideas, and enjoy the therapeutic benefits of crafting.
Whether you’re a seasoned crafter or just starting out, the world of handmade crafts has something to offer everyone.
So, take the first step on your creative journey and start making your own handmade pencil cases. With every stitch, cut, and creation, you’ll find joy in the process and pride in your finished projects.
