21 Adorable Mother’s Day Craft Ideas for Kids: DIY Gifts from the Heart
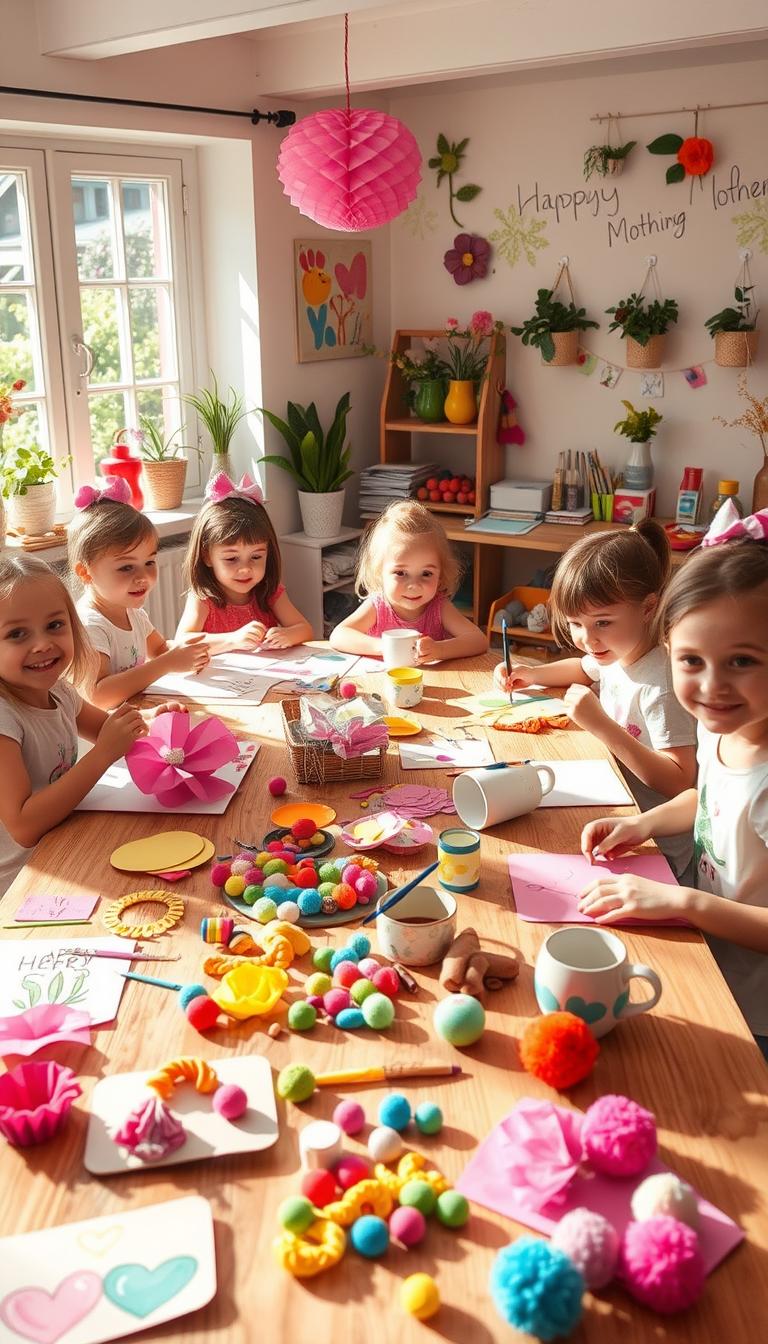
There’s something magical about watching a child’s face light up as they create something special for their mom. I remember my little one proudly handing me a handmade card with scribbled hearts and a lopsided flower. That simple gesture meant more to me than any store-bought gift ever could.
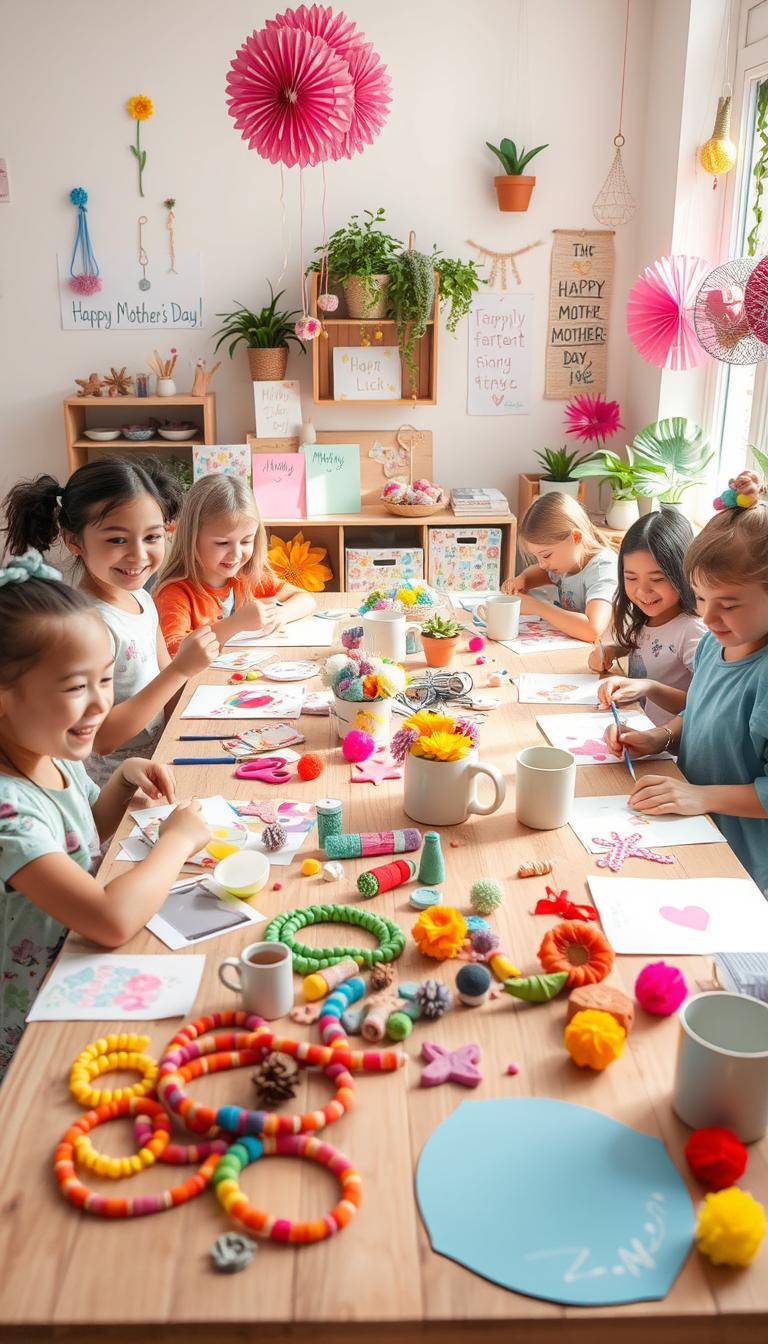
Handmade presents have a way of capturing love and creativity in a way that lasts forever. Whether it’s a colorful bouquet made from paper or a personalized keepsake, these projects are perfect for little hands to make and big hearts to cherish.
In this guide, I’ll share 21 unique craft ideas that are easy, fun, and perfect for kids of all ages. From floral arrangements to eco-friendly projects using recycled materials, there’s something for everyone. Plus, these activities are a great way to bond as a family while creating something truly special.
So, grab your supplies and let’s get started on making this Mother’s Day one to remember!
DIY Tulipiere: A Tiered Flower Arrangement
Tulipieres, with their elegant design, bring a touch of history to your home decor. Originating in the 17th century, these tiered vases were once a symbol of luxury and sophistication. Today, they’re a perfect way to showcase fresh blooms while adding a unique centerpiece to your space.
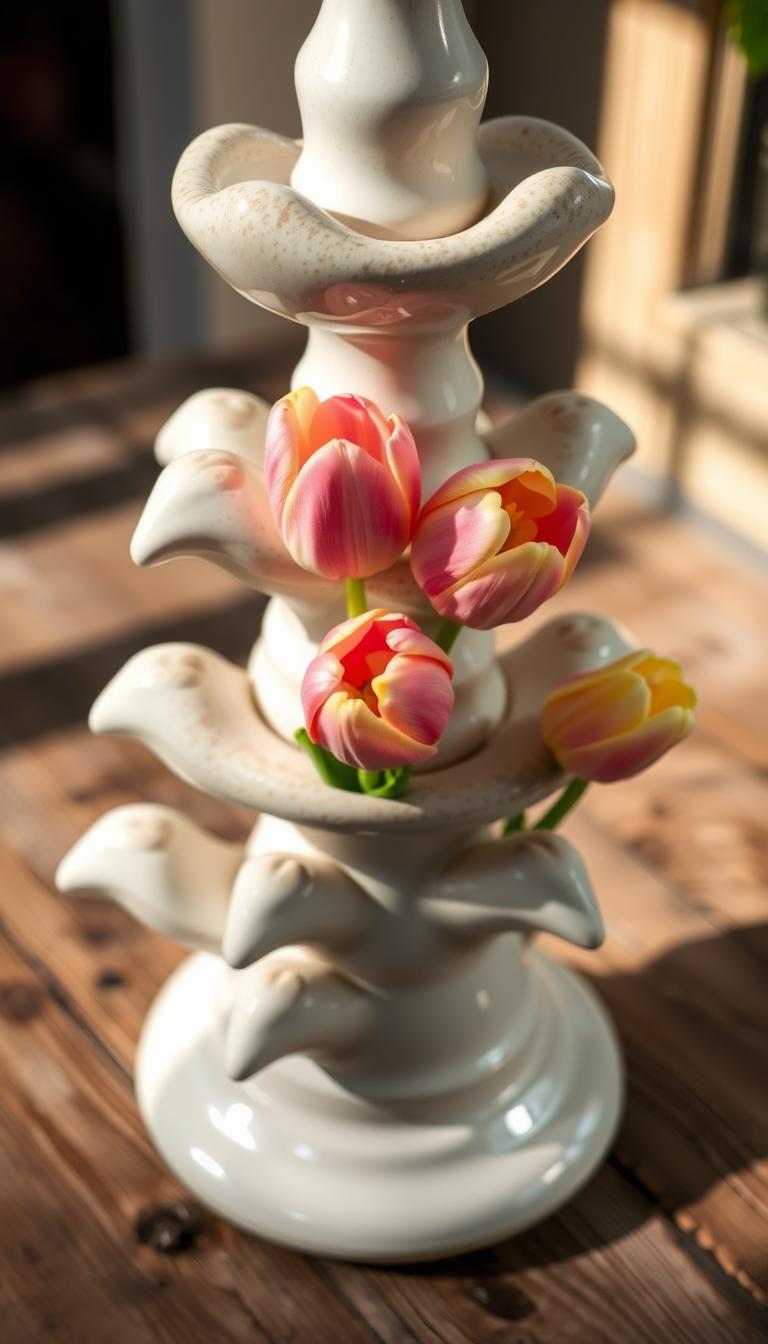
To create your own tulipiere, you’ll need a few simple materials: three sturdy vases of varying heights, floral scissors, and seasonal flowers like tulips, daffodils, or sweet peas. For a personalized touch, consider using blooms from your local farmer’s market to ensure freshness.
Steps to Create Your Own Tulipiere
Start by arranging the vases in a tiered formation, ensuring they’re stable. Fill each vase with cold water to keep the flowers fresh. Trim the stems at an angle and layer the blooms, placing taller flowers in the back and shorter ones in the front. This technique creates a balanced and visually appealing arrangement.
For added flair, tie a ribbon around the base of each vase. If tulips aren’t your favorite, swap them out for other spring flowers like roses or peonies. To extend the life of your arrangement, change the water every two days and keep it away from direct sunlight.
This project is ideal for older children with supervision, making it a fun and meaningful activity. Whether used as a centerpiece or a doorstep gift, your DIY tulipiere is sure to impress.
Spring Tablescape: A Blooming Brunch Setup
A beautifully set table can transform any meal into a special occasion. This mother day, why not create a stunning spring tablescape that celebrates the season? With fresh blooms and a cohesive color scheme, you can turn your dining area into a festive brunch spot.

Start by visiting your local farmer’s market for seasonal flowers. Choose complementary hues like soft pinks, yellows, and greens to create a harmonious look. Incorporate these blooms into napkin rings, place cards, and even water glasses for a cohesive design.
How to Arrange Your Spring Tablescape
Here are some tips to make your tablescape stand out:
- Use single stem varieties for a budget-friendly yet elegant touch.
- Add herbs like rosemary to your arrangements for a fresh scent.
- Create edible flower ice cubes for a unique twist.
- Coordinate table linens with your floral choices for a polished look.
Involving kids in the design process can make it even more meaningful. Let them arrange place cards or choose the color of the napkins. Adding scented candles can also enhance the ambiance, making your house feel warm and inviting.
| Tip | Description |
|---|---|
| Proportion | Ensure arrangements match the size of your table. |
| Cleanup | Preserve flowers by changing water and trimming stems. |
| Budget-Friendly | Use single stems or repurpose blooms from your garden. |
With these tips, your spring tablescape will be the highlight of the day. It’s a simple yet impactful way to celebrate the season and create lasting memories.
DIY Floral Wreath: Pastel Perfection for Your Door
Adding a personal touch to your home decor has never been easier than with a DIY floral wreath. This project is perfect for creating a beautiful bouquet of dried flowers that lasts for months. Whether you’re crafting a gift or decorating your own space, this wreath is sure to impress.
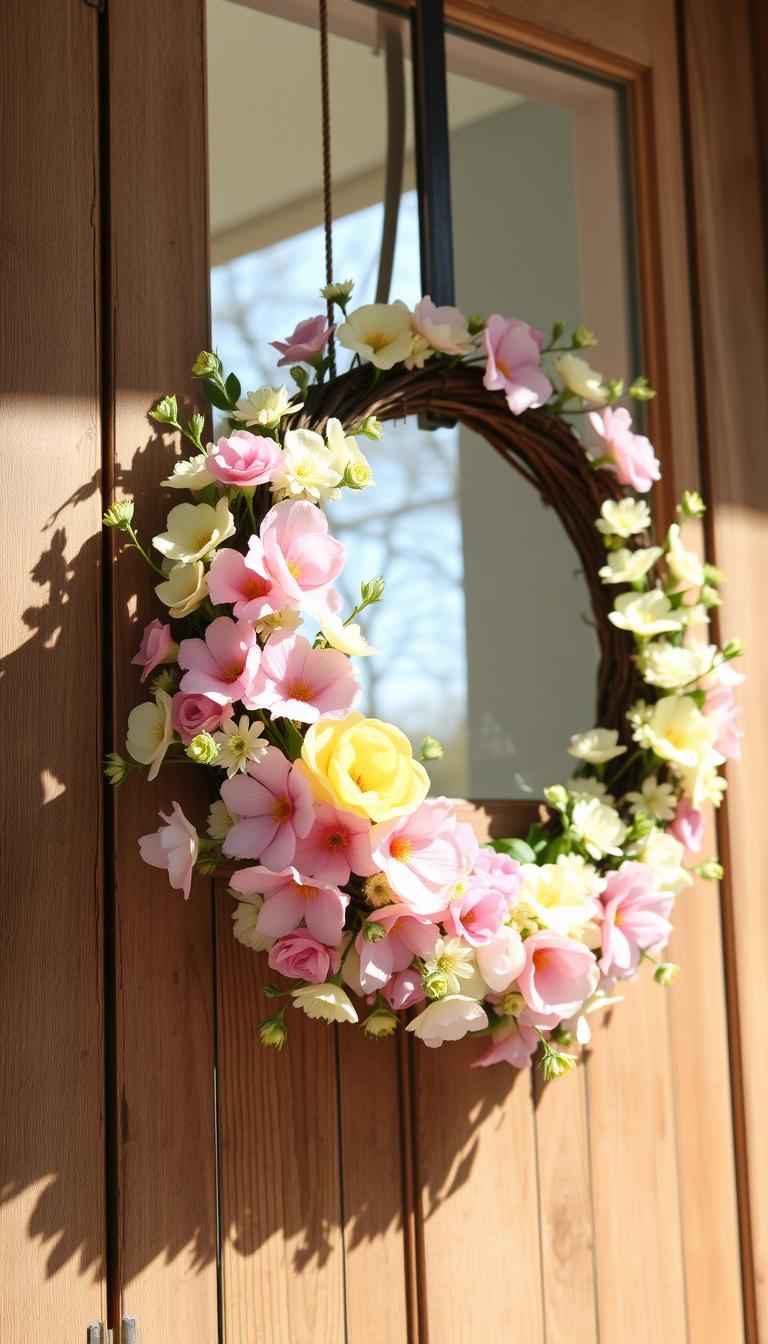
Start with a boxwood wreath base and preserved flowers from your local craft store. Layer larger blooms first, then tuck in smaller accents for depth. Use a hot glue gun to secure the petals and stems, ensuring everything stays in place.
Steps to Create Your Floral Wreath
Here’s how to make your wreath stand out:
- Choose dried flowers for longevity over fresh blooms.
- Use essential tools like a hot glue gun, wire cutters, and floral tape.
- Add a decorative ribbon bow for a finishing touch.
- Incorporate sentimental items like mini frames or baby shoes for a personal touch.
For outdoor wreaths, consider weatherproofing techniques to extend their lifespan. Store your wreath in a cool, dry place when not in use to keep it looking fresh year-round.
This project is not only cost-effective but also a meaningful way to create something unique. Whether you’re crafting alone or with loved ones, the result is a stunning piece that brings joy to any space.
Tulip Paper Eggs: A Homemade Touch
There’s a certain joy in crafting something beautiful from simple materials. Tulip paper eggs are a delightful way to bring a touch of spring into your home. Using paper mache eggs, crepe paper, and a few other supplies, you can create stunning floral decorations that last.
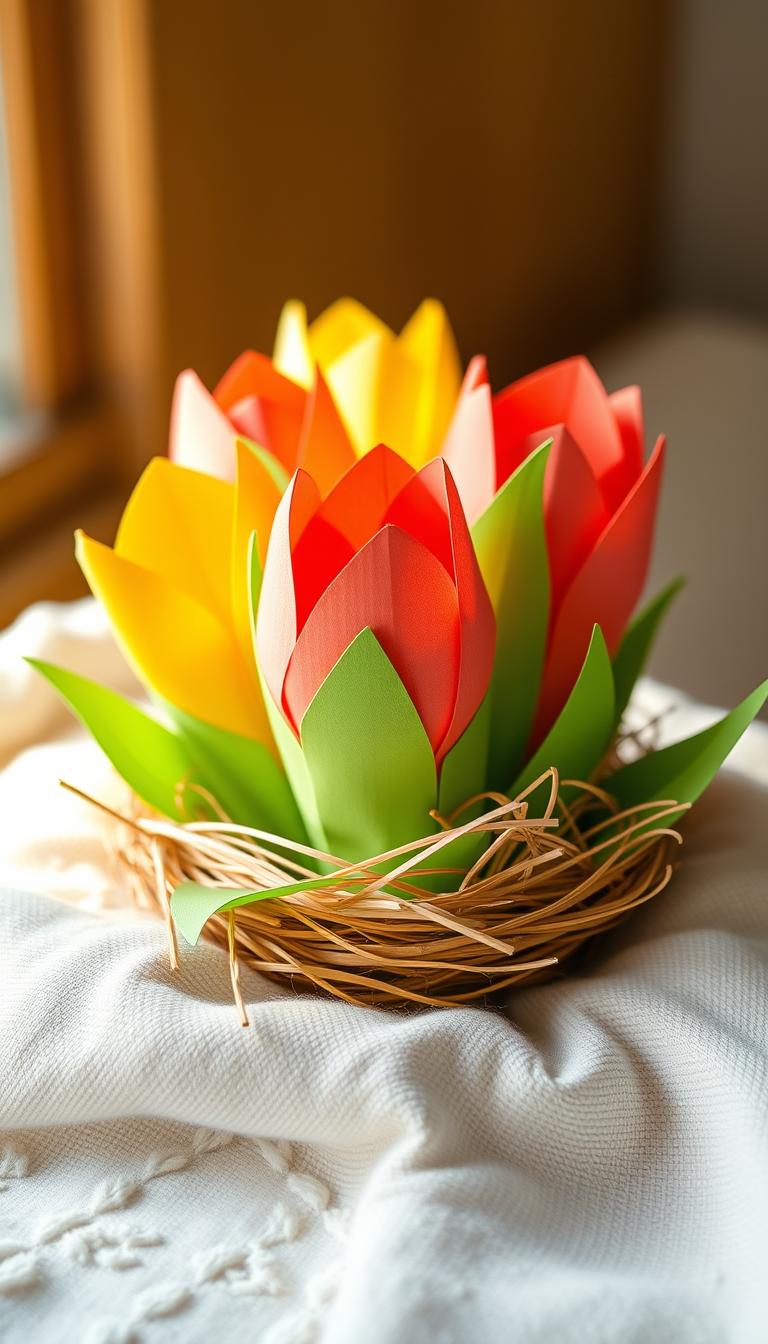
This craft is perfect for all skill levels. Kids can join in with supervision, making it a fun family activity. The process involves layering stretched petals with hot glue and wrapping stems with floral tape for a polished finish.
How to Make Tulip Paper Eggs
Here are some tips to help you get started:
- Choose the right paint colors for realistic tulip effects.
- Manipulate crepe paper carefully to create lifelike petals.
- Handle floral wire safely, especially when working with kids.
- Display your finished pieces in a vase or as place markers.
- Use leftover materials for other creative projects.
With these steps, you’ll have a beautiful set of tulip paper eggs ready to brighten any space. Whether you’re gifting them or keeping them for yourself, they’re sure to bring a smile.
DIY Bath Salts: Relaxation in a Jar
Relaxation can be bottled up in a simple, handmade jar. DIY bath salts are a thoughtful and practical gift that anyone can make. With just a few materials, you can create a spa-like experience at home.
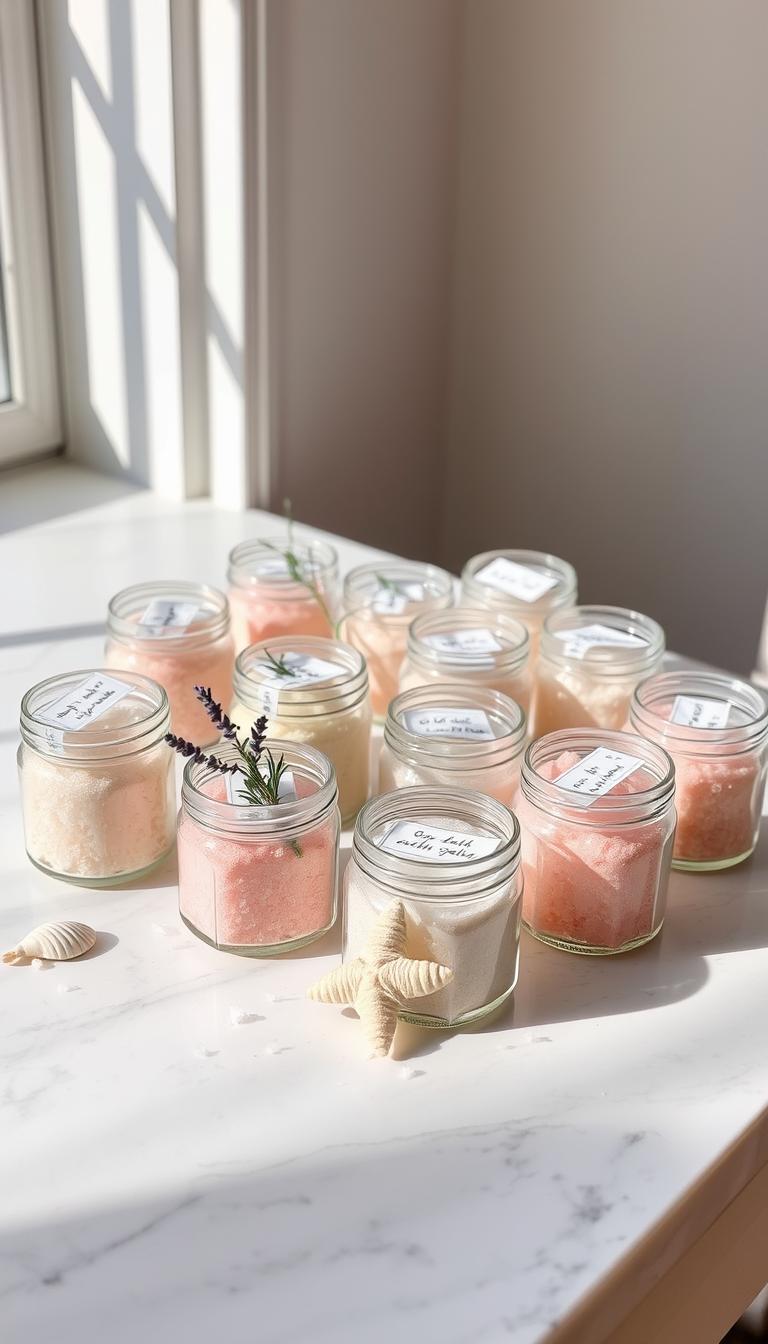
Blend Epsom salts with lavender or rose essential oils for a soothing scent. This recipe, inspired by A Pumpkin and a Princess blog, is easy to follow and perfect for beginners. Package your creation in decorative jars with fabric toppers for a polished look.
Creating Lavender and Rose Bath Salts
Here’s a step-by-step guide to making your own bath salts:
- Mix Epsom salts with a few drops of essential oil for a calming aroma.
- Add natural colorants like dried lavender petals or rose petals for a pop of color.
- Layer different scents and colors for a visually appealing design.
- Use child-safe oils and supervise kids during the process.
For a personal touch, let kids decorate the jars with their artwork. Add labels with fun messages like “Relax and Unwind” or “Spa Day in a Jar.” Pair your bath salts with candles or loofahs for a complete gift set.
| Tip | Description |
|---|---|
| Storage | Keep bath salts in a cool, dry place to preserve their scent. |
| Customization | Experiment with different scents like eucalyptus or citrus. |
| Budget | Buy ingredients in bulk to save money. |
This project is a wonderful way to bond with loved ones while creating something meaningful. Whether you’re gifting them or keeping them for yourself, these bath salts are sure to bring a little luxury into your life.
Pipe Cleaner Bouquet: A Colorful Centerpiece
Bright colors and creativity come together in this fun and easy project. A pipe cleaner bouquet is a fantastic way to explore artistic expression while making something beautiful. Kids will love the hands-on process, and the result is a vibrant centerpiece that brightens any room.
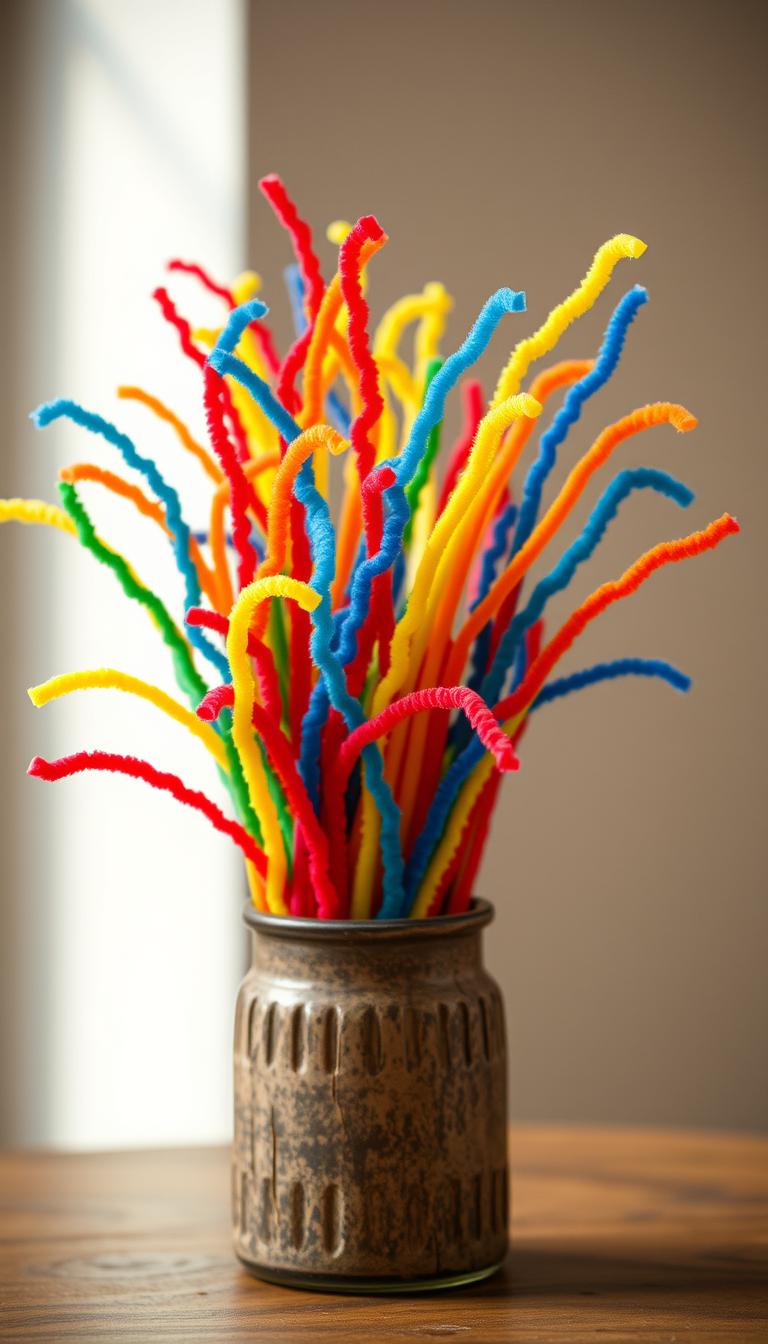
This project uses simple things like pipe cleaners, buttons, and straws. You can even repurpose a glass milk jug as a vase for an eco-friendly touch. The possibilities are endless, and the process is as enjoyable as the final product.
Assembling Your Pipe Cleaner Bouquet
Here’s how to create your own pipe cleaner bouquet:
- Start by twisting pipe cleaners into different flower shapes. Try spirals for roses or loops for daisies.
- Add buttons or beads to the center of each flower for extra detail.
- Wrap the stems with floral tape to secure them and give a polished look.
- Balance the bouquet by mixing larger and smaller flowers for variety.
For a unique display, consider using a cup or mason jar instead of a traditional vase. You can also incorporate real foliage or ribbons for added texture. To prevent dust, store your bouquet in a covered container when not in use.
| Tip | Description |
|---|---|
| Color Palette | Choose a themed color scheme for a cohesive look. |
| Storage | Keep your bouquet in a cool, dry place to maintain its vibrancy. |
| Matching Accessories | Create hair clips or pins with leftover materials. |
This project is a wonderful way to bond with kids while making something special. Whether it’s a gift or a keepsake, your pipe cleaner bouquet will bring joy to any space.
Mother’s Day Medallion: An Award for Mom
Celebrating moms with a handmade medallion is a heartfelt way to show appreciation. This project is perfect for kids who want to create something special and meaningful. Using simple materials like metallic cardstock, you can craft a unique award that moms will treasure forever.

How to Personalize Your Medallion
Start by choosing a template for your medallion. You can find printable designs online or create your own. Use metallic cardstock for a shiny, professional look. Add titles like “Best Snuggle Expert” or “World’s Greatest Mom” with permanent markers for a personal touch.
Here are some creative ideas to make your medallion stand out:
- Add glitter accents for a sparkly finish.
- Incorporate photo inserts to make it extra special.
- Choose ribbons in mom’s favorite colors for hanging.
- Conduct family voting sessions to decide on the award title.
- Use a medal display stand or a small pot to showcase the medallion.
For a more durable option, consider using alternative materials like clay or shrink plastic. You can also create matching sashes or award cards to complete the presentation. Present the medallion during a special meal or family gathering for an unforgettable moment.
This project is not only fun but also a meaningful way to celebrate the amazing moms in our lives. Whether it’s a solo craft or a family activity, the result is a keepsake that will be cherished for years to come.
DIY Teacup Candle: A Fragrant Gift
Turning an old teacup into a fragrant candle is a creative and thoughtful project. It’s a perfect way to repurpose vintage finds while creating something beautiful and functional. Whether you’re crafting for yourself or as a gift, this project is both easy and rewarding.
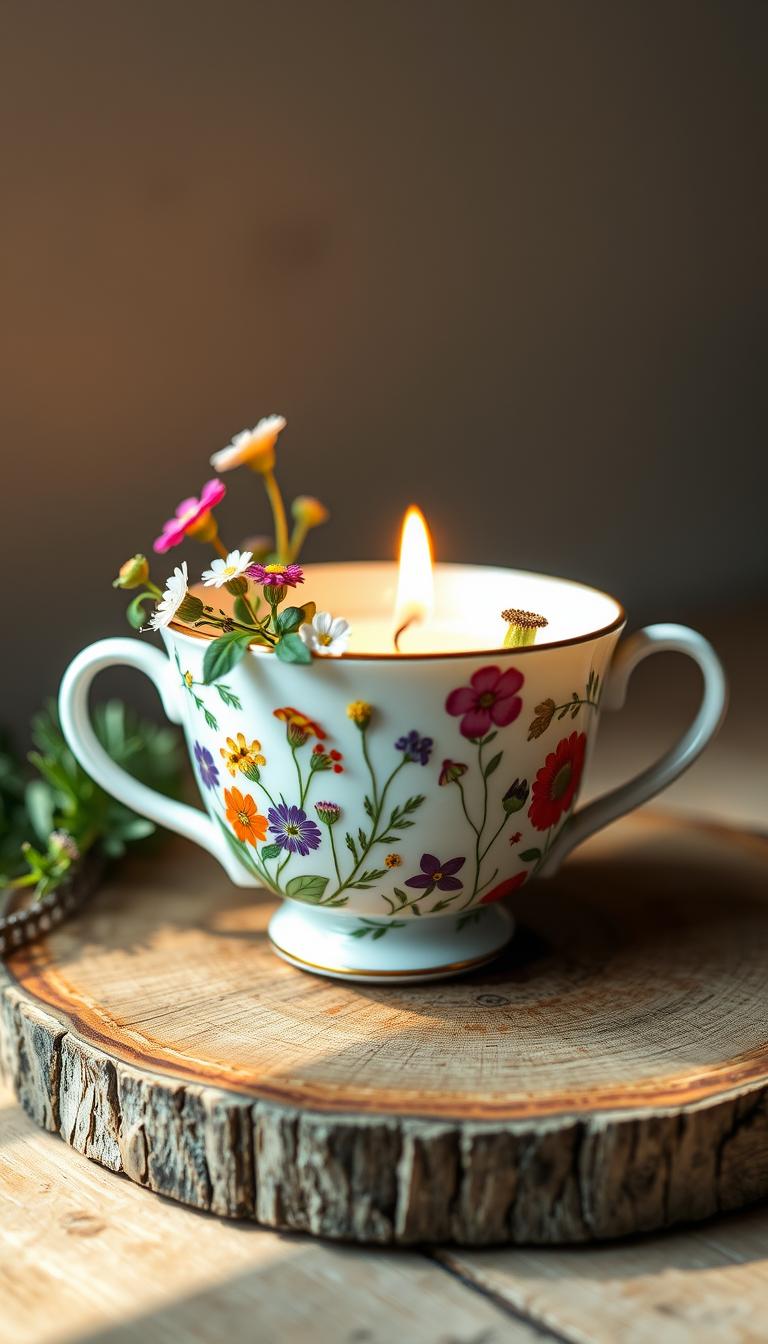
Start by gathering thrifted teacups, soy wax, and essential oil blends. DIY Beautify suggests using chopsticks to secure the wicks during the setting process. This ensures your candles burn evenly and look polished.
Steps to Make a Teacup Candle
Here’s how to create your own teacup candles:
- Melt soy wax slowly and safely, using a double boiler to avoid overheating.
- Choose the right wick size for your teacup to ensure proper burning.
- Mix fragrance oils like lavender or citrus for a personalized scent.
- Embed dried flowers or herbs for a decorative touch.
- Prevent air bubbles by pouring the wax slowly and tapping the cup gently.
For a finishing touch, use vintage tags or labels to add a charming color and theme. You can even create themed sets, like a tea party collection, for a cohesive look. Repurposing cracked china is another creative way to give new life to old pieces.
| Tip | Description |
|---|---|
| Cost Comparison | DIY candles are often cheaper than store-bought ones. |
| Pairing Ideas | Match candles with coordinating tea bags for a complete gift. |
| Storage | Keep candles in a cool, dry place to preserve their scent. |
This project is a wonderful way to bond with loved ones while creating something meaningful. Whether you’re gifting them or keeping them for yourself, these teacup candles are sure to bring warmth and joy.
Mother’s Day Coupons: Gifts That Keep Giving
Creating something meaningful for mom doesn’t have to be complicated. One of the most heartfelt ideas is a set of personalized coupons. These little tokens of love can be redeemed for special services or moments, making them a gift that keeps giving.
From breakfast in bed to chore assistance, the possibilities are endless. Using printable templates from Happiness Is Homemade, you can easily design these coupons. All you need are a few simple materials like cardstock, markers, and a laminator for durability.
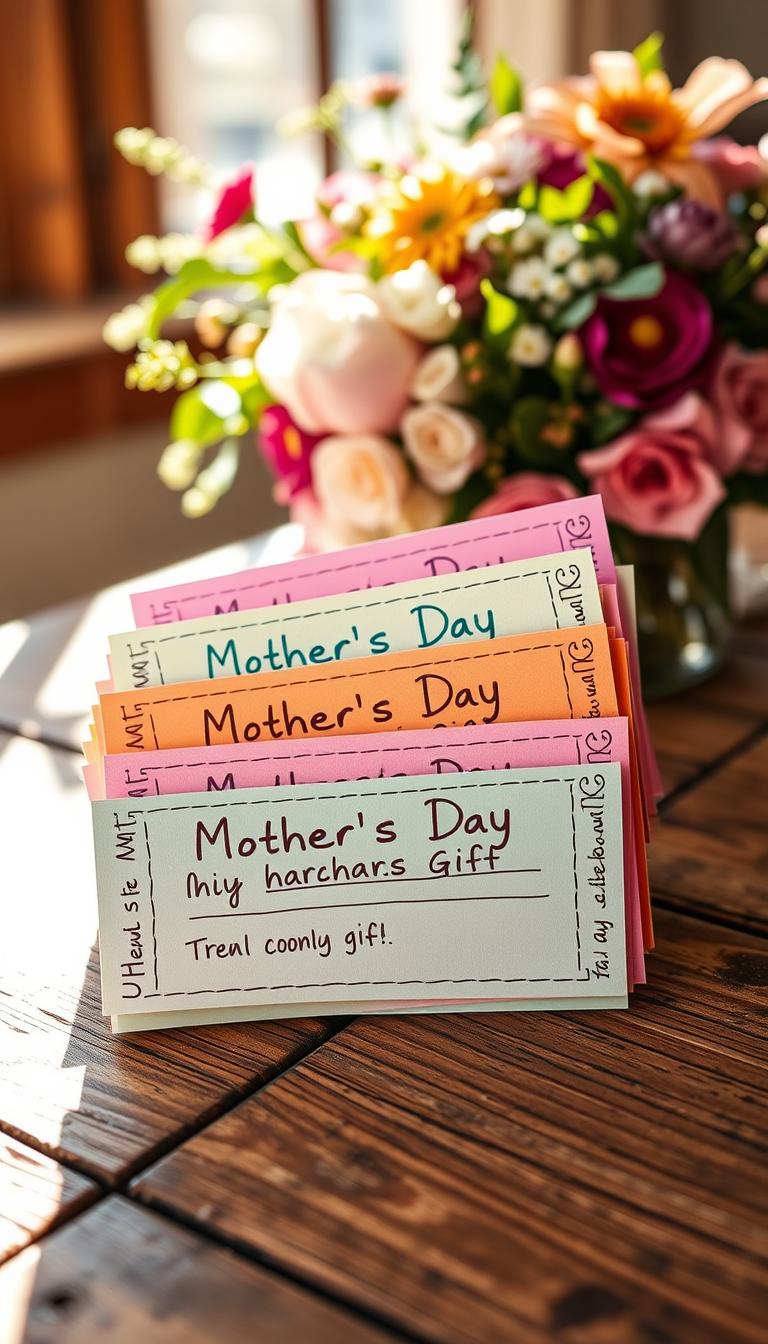
Creating and Using Your Coupons
Here are some tips to make your coupons stand out:
- Laminate them for long-lasting use.
- Create themed coupon books, like “Spa Day” or “Movie Night.”
- Set expiration dates to encourage timely redemption.
- Add surprise bonus coupons for an extra touch of thoughtfulness.
- Store them in a decorative box for a polished presentation.
For a more interactive experience, consider making tear-away pads or combo coupons. Pairing a movie night coupon with popcorn and snacks can make the gift even more special. Experience-based offers, like a picnic in the park, are also great things to include.
| Tip | Description |
|---|---|
| Tracking | Keep a log of redeemed coupons to see what mom enjoys most. |
| Personalization | Add handwritten notes or drawings for a personal touch. |
| Budget-Friendly | Use free printable templates to save on costs. |
These coupons are not just a gift but a way to create lasting memories. Whether it’s a small gesture or a grand surprise, they’re sure to bring a smile to mom’s face.
Butterfly Handprint Frame: A Forever Keepsake
Capturing a moment in time has never been more meaningful than with a handmade keepsake. A butterfly handprint frame is a beautiful way to preserve a child’s tiny hands in a creative and lasting way. This project is perfect for families looking to create something special together.
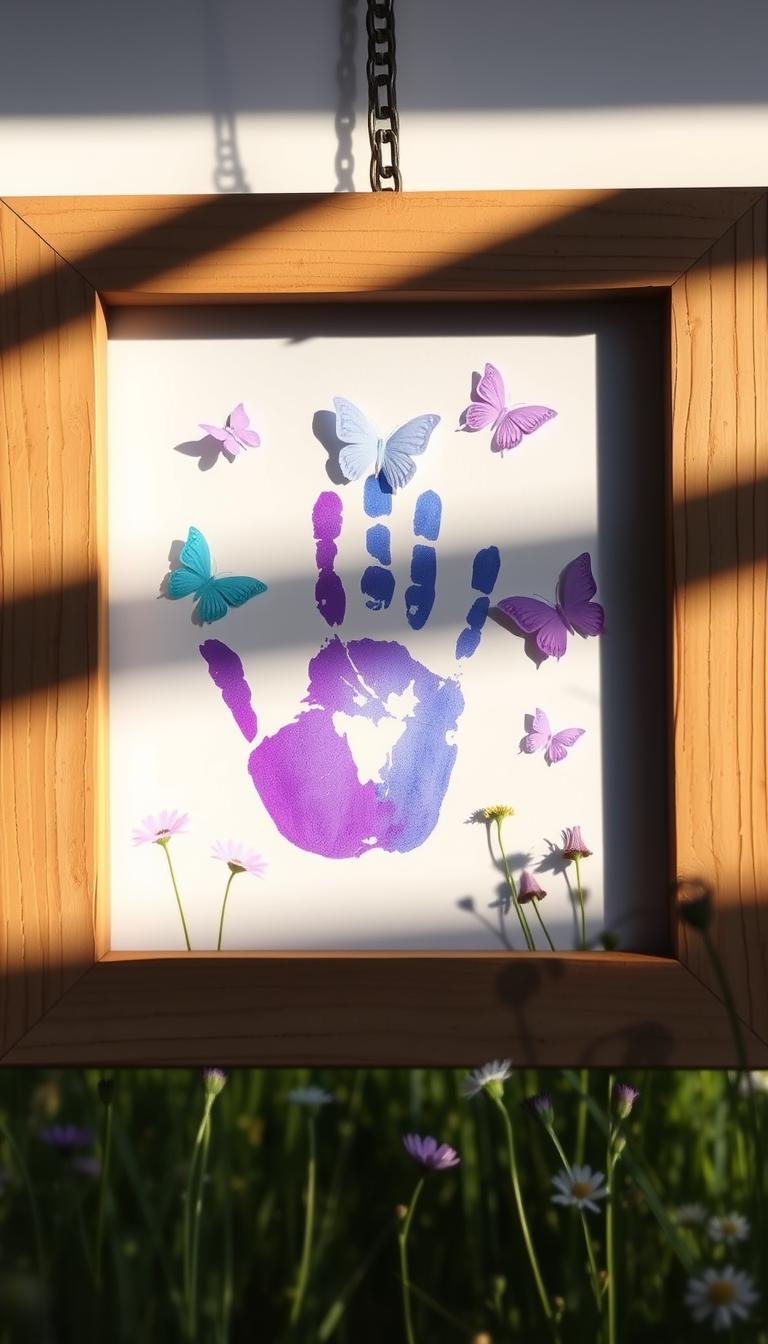
Using acrylic paint, you can create symmetrical wings with parent and child handprints. This simple yet heartfelt craft is a wonderful way to celebrate the bond between loved ones. Whether you’re making it for yourself or as a gift, the result is a treasure that will be cherished for years.
How to Create a Butterfly Handprint Frame
Here’s a step-by-step guide to making your own butterfly handprint frame:
- Start with a clean canvas or sturdy paper. Use a light background to make the handprints stand out.
- Apply acrylic paint evenly on the child’s hand. Press firmly onto the paper to create a clear handprint.
- Repeat the process with the parent’s handprint, positioning it to form the butterfly’s wings.
- Add details like antennae or a heart shape in the center for a personalized touch.
- Once dry, place the artwork in a frame of your choice. Consider using UV-resistant glass to protect it from fading.
For families with multiple children, you can create a design with each child’s handprint as a wing. This adds a unique and inclusive element to the project. Choose frames that match your home decor, from rustic wood to sleek modern styles.
| Tip | Description |
|---|---|
| Frame Material | Opt for wood or metal frames for durability. |
| Display Options | Hang it in a nursery, living room, or hallway for a personal touch. |
| Annual Updates | Create a new frame each year to track your child’s growth. |
This project is not just a craft but a way to create lasting memories. Whether you’re making it as a gift or for your own home, the butterfly handprint frame is a timeless keepsake that captures the heart of family moments.
Handprint Bouquet: A Paper Flower Masterpiece
Creating a handprint bouquet is a unique way to combine art and sentiment. Using construction paper, you can craft 3D flowers that capture the essence of a child’s creativity. This project is perfect for kids and makes a thoughtful gift for any occasion.
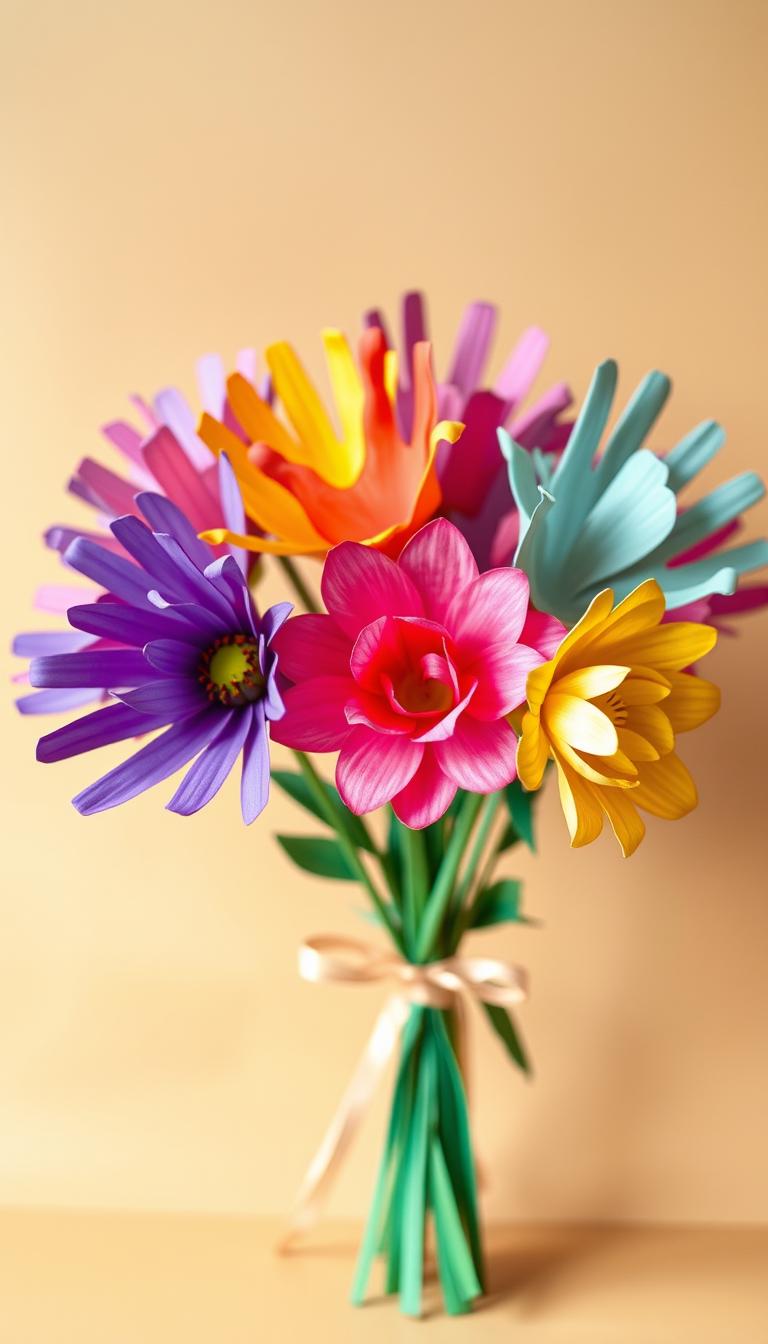
The I Am Style-Ish method simplifies the process, allowing you to write heartfelt messages under each bloom. Whether you’re making it for a loved one or as a keepsake, this bouquet is sure to bring joy.
Steps to Make a Handprint Bouquet
Here’s how to create your own handprint bouquet:
- Choose different patterns for various bloom types, like roses or daisies.
- Experiment with stem variations using green paper or pipe cleaners.
- Add scent elements like essential oils for a sensory touch.
- Select the right paper weight for durability and flexibility.
- Waterproof your bouquet for outdoor displays using clear sealant.
- Wrap the bouquet with ribbon or fabric for a polished look.
- Combine your paper flowers with real vases for a mixed arrangement.
- Create pop-up cards to accompany your bouquet.
- Display your bouquet in office spaces for a personal touch.
- Preserve your bouquet by storing it in a cool, dry place.
With these tips, your handprint bouquet will be a masterpiece that lasts. It’s a wonderful way to bond with kids while creating something meaningful.
Button Bouquet: A Kid-Friendly Craft
Transforming everyday items into something extraordinary is a joy for both kids and adults. A button bouquet is a delightful project that combines creativity with simplicity. Using colorful buttons and a few basic materials, you can create a vibrant arrangement that’s perfect for little hands to make and big hearts to cherish.
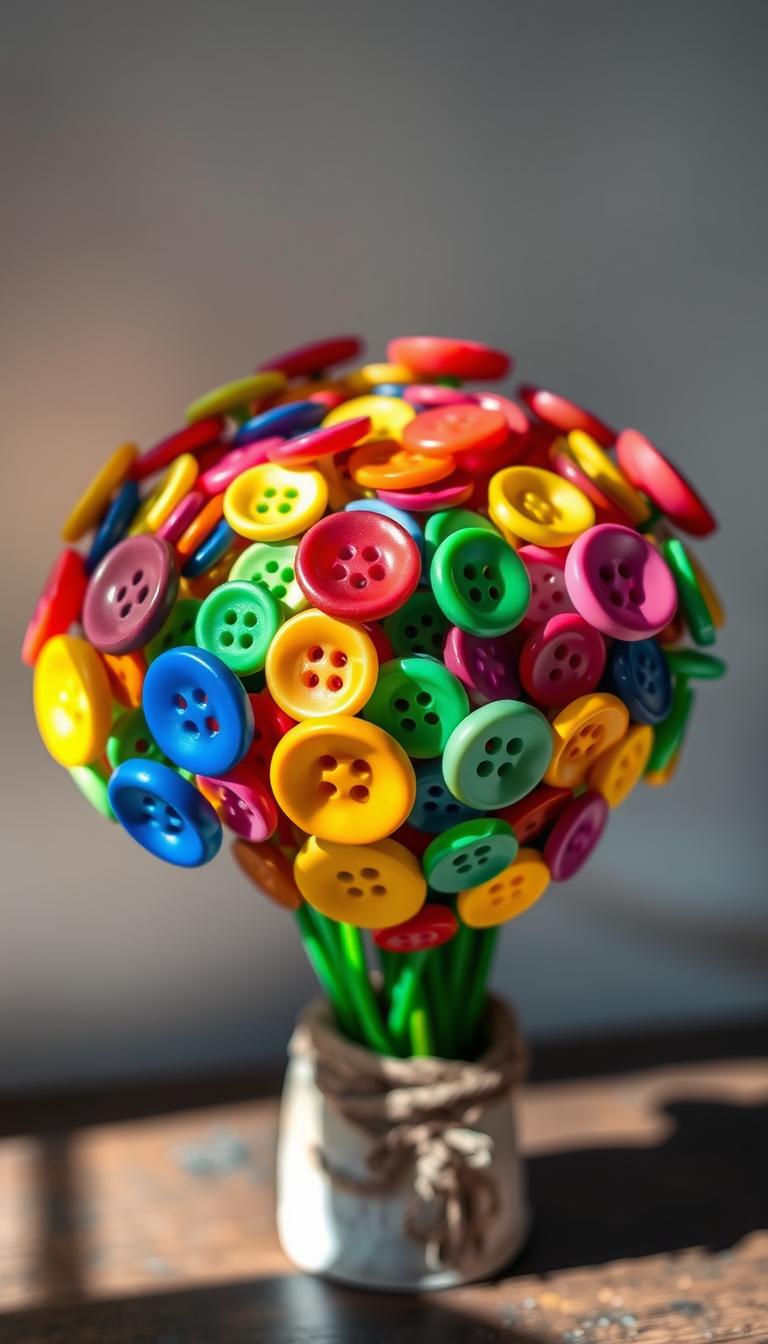
Assembling Your Button Bouquet
Here’s how to craft your own button bouquet:
- Sort buttons by color and size for a cohesive look.
- Use jewelry wire to thread buttons, ensuring proper alignment of button holes.
- Layer buttons to create depth, with larger ones at the bottom and smaller ones on top.
- Add foliage accents like paper leaves or green pipe cleaners for a natural touch.
- Display your bouquet in unconventional containers like mason jars or teacups.
- Create boutonnieres by wrapping stems with floral tape and adding a ribbon bow.
- Compare costs by using vintage buttons or repurposing old ones.
- Incorporate memory buttons from special occasions for a sentimental touch.
- Secure loose components with a dab of glue for durability.
This project is not only fun but also a wonderful way to bond with kids while creating something meaningful. Whether it’s a gift or a keepsake, your button bouquet will bring a smile to anyone’s face.
Mason Jar Gift: A Personalized Present
Mason jars are versatile and charming, making them perfect for personalized gifts. Whether you’re filling them with candies, memory notes, or small things, they’re a thoughtful way to show you care. Decorating them adds an extra layer of creativity, turning a simple jar into a cherished keepsake.
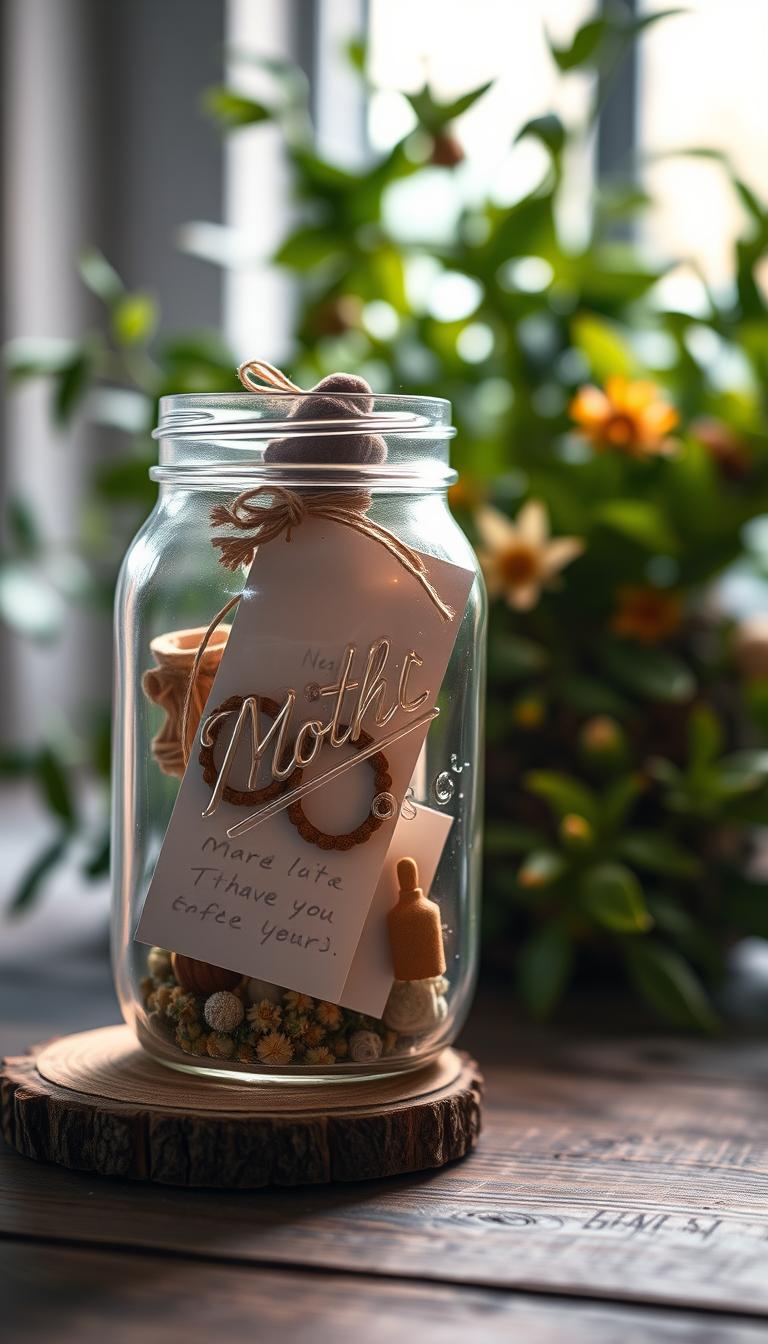
How to Decorate and Fill Your Mason Jar
Here are some creative ideas to make your mason jar stand out:
- Experiment with paint techniques like ombre or stenciling for a unique look.
- Layer the contents for visual appeal—think candies, cookies, or small trinkets.
- Use waterproofing methods to ensure decorations last, especially for outdoor use.
- Incorporate seasonal themes, like pastels for spring or warm tones for fall.
- Turn jars into self-watering planters for a functional gift.
- Combine items, like cookies with a handwritten recipe, for a thoughtful touch.
- Add lighting elements, such as fairy lights, for a magical effect.
- Store unused jars creatively to keep them ready for future projects.
- Fill jars progressively with small surprises for an ongoing gift experience.
- Wrap jars with fabric or ribbon for a polished presentation.
These ideas are perfect for creating something special for mom or anyone else in your house. With a little creativity, mason jars can become a meaningful and memorable gift.
Accordion Paper Flowers: A Stunning Bouquet
Unleash your creativity with accordion paper flowers, a stunning bouquet that’s both fun and easy to make. These delicate pieces are perfect for adding a touch of elegance to any space. Whether you’re decorating for a party or creating a heartfelt gift, this craft is sure to impress.
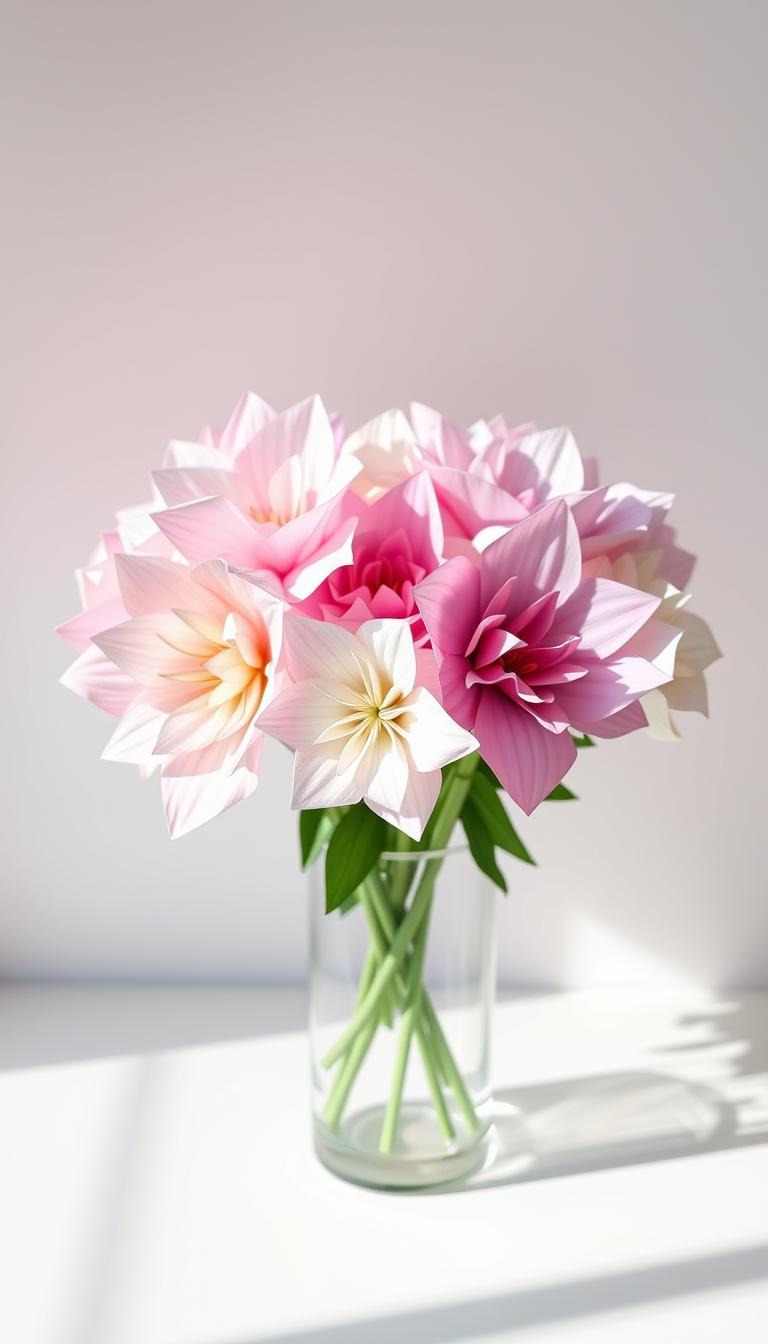
Creating Accordion Paper Flowers Step-by-Step
Start by gathering your materials: colorful paper, double-stick tape, and scissors. Mike Garten’s template simplifies the process, making it accessible for all skill levels. For daffodils, use orange paper centers to add a pop of color.
Here are some tips to make your flowers stand out:
- Choose the right paper weight for durability and flexibility.
- Master the accordion fold technique for perfect, even pleats.
- Create giant floor blooms for a dramatic effect.
- Reinforce stems with floral wire for added stability.
- Experiment with petal variations to mimic different flower types.
Display your flowers as party decorations or use them to create a wreath base. Compared to fresh flowers, these pieces are cost-effective and long-lasting. Add colored pencil shading for a realistic touch, and preserve delicate paper by storing in a cool, dry place.
This project is a wonderful way to bond with loved ones while creating something meaningful. Whether you’re crafting alone or with others, the result is a stunning bouquet that brings joy to any space.
Painted Cupcake Liner Wreath: A Vibrant Gift
Bringing a splash of color to your home has never been easier than with a painted cupcake liner wreath. This project is a fun and creative way to repurpose simple materials into something beautiful. Whether you’re decorating for a special occasion or just adding a cheerful touch to your space, this wreath is sure to impress.
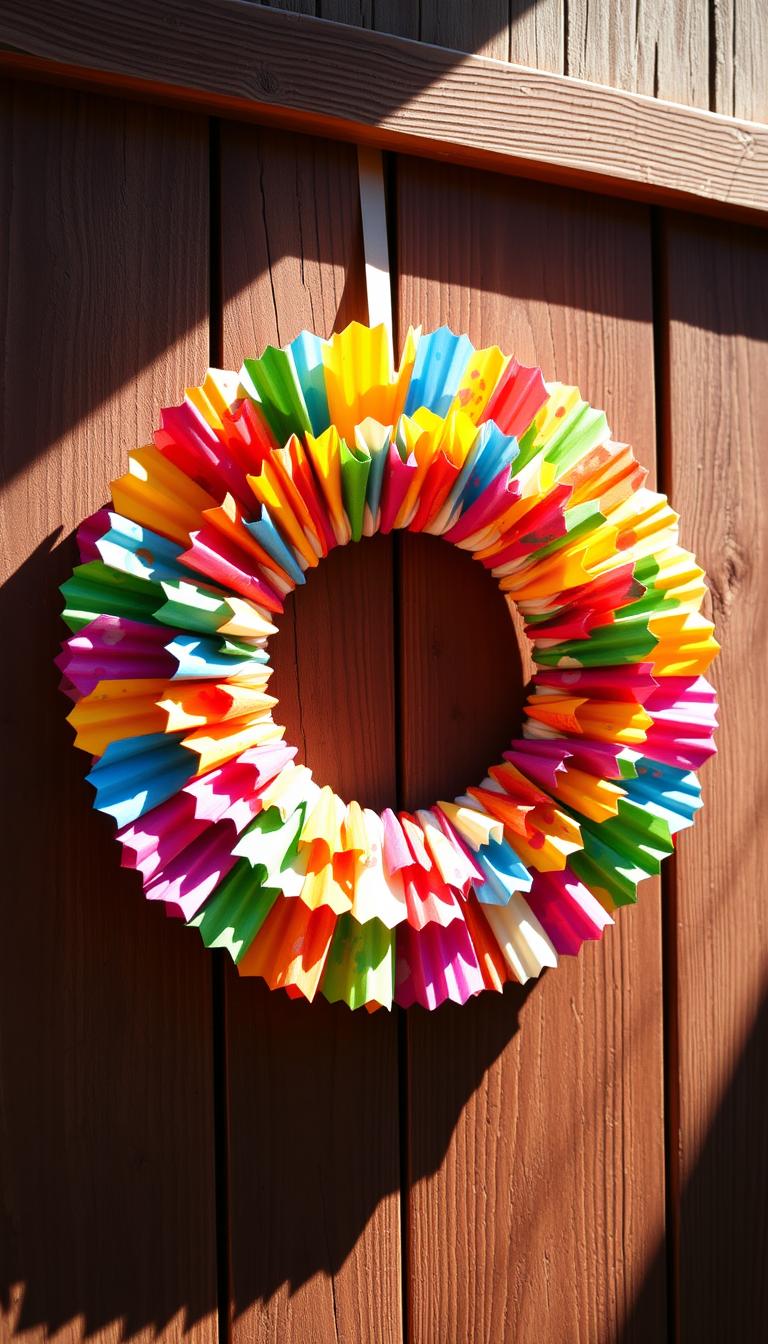
How to Make a Cupcake Liner Wreath
Start with a foam wreath form and gather your cupcake liners. Using acrylic paint, add color to the liners in a gradient or alternating pattern. Pin them onto the wreath form, layering for depth and texture. Here are some tips to make your wreath stand out:
- Choose the right paint type for vibrant, long-lasting colors.
- Experiment with gradient effects for a dynamic look.
- Use shaped liners like hearts or stars for a unique twist.
- Select a wreath size that fits your space and purpose.
- Add dimensional centers with beads or buttons for extra flair.
Display your wreath in different seasons by changing the color scheme. For example, pastels work well for spring, while bold hues are perfect for summer. You can also create matching garlands for a cohesive look.
When it comes to cost, bulk liners are a budget-friendly option. To preserve your wreath, store it in a cool, dry place to prevent crushing. With these tips, your painted cupcake liner wreath will be a vibrant and lasting addition to your decor.
Egg Carton Lily Wreath: A Stylish Surprise
Egg cartons can transform into stunning floral wreaths with a little creativity. This project is perfect for bringing a touch of spring into your home while repurposing everyday materials. Whether you’re crafting for fun or creating a heartfelt gift, this wreath is sure to impress.
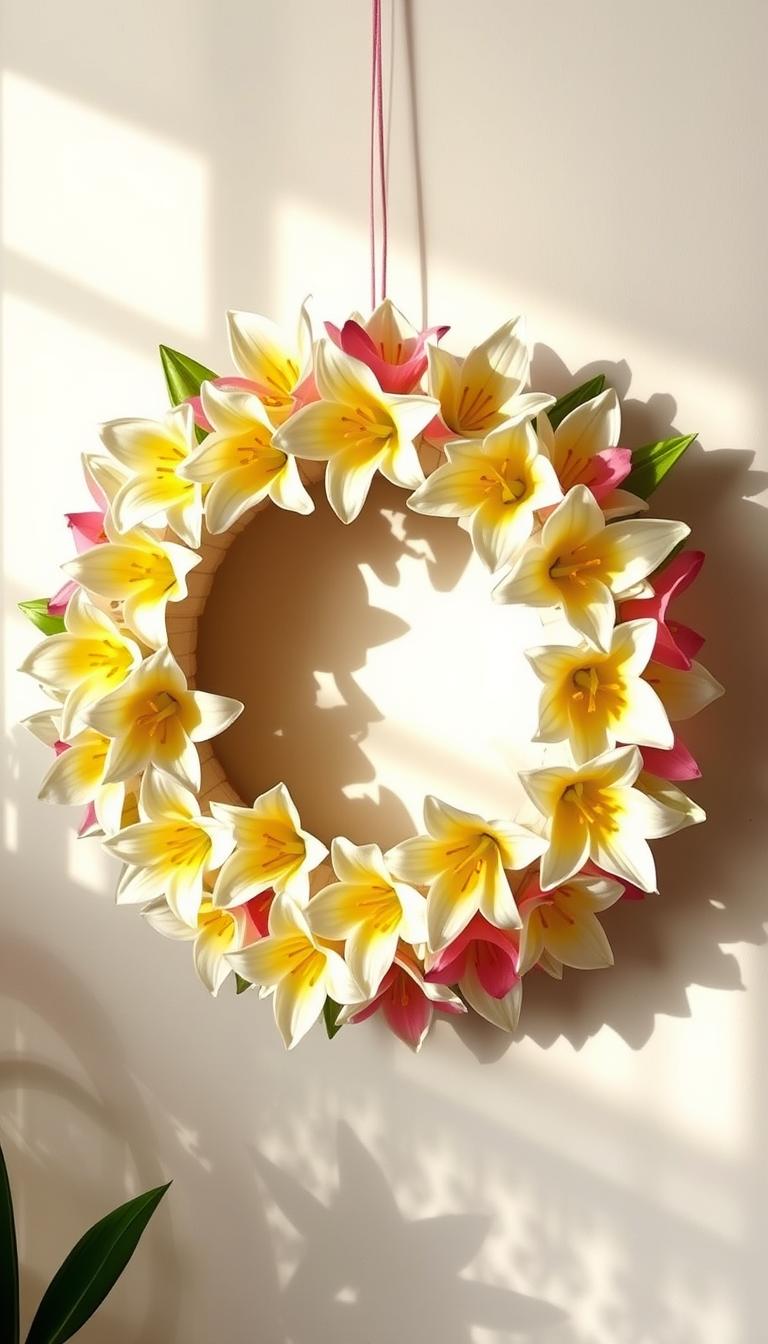
Steps to Create an Egg Carton Lily Wreath
Start by gathering your supplies: egg cartons, floral wire, craft paint, and scissors. Cut the carton peaks into individual cups, then shape them into four-petal flowers. Use a small hole punch to create a center for threading the wire.
Here’s how to make your wreath stand out:
- Prepare the cartons by smoothing edges and removing excess material.
- Mix paint in soft pastel shades for a fresh, spring look.
- Add metallic finishes for a touch of elegance.
- Choose the right wire gauge for stability and flexibility.
- Shape petals by gently curving them outward for a lifelike effect.
For outdoor displays, consider weatherproofing your wreath with a clear sealant. You can also create smaller versions as table centerpieces. This project is not only cost-effective but also a wonderful way to bond with loved ones while creating something meaningful.
Floral Candlesticks: A Decorative Touch
Adding a decorative touch to your home can be as simple as transforming everyday items into elegant floral candlesticks. This craft is perfect for anyone looking to bring a bit of nature indoors while repurposing old things like glass jars or ceramic cups.
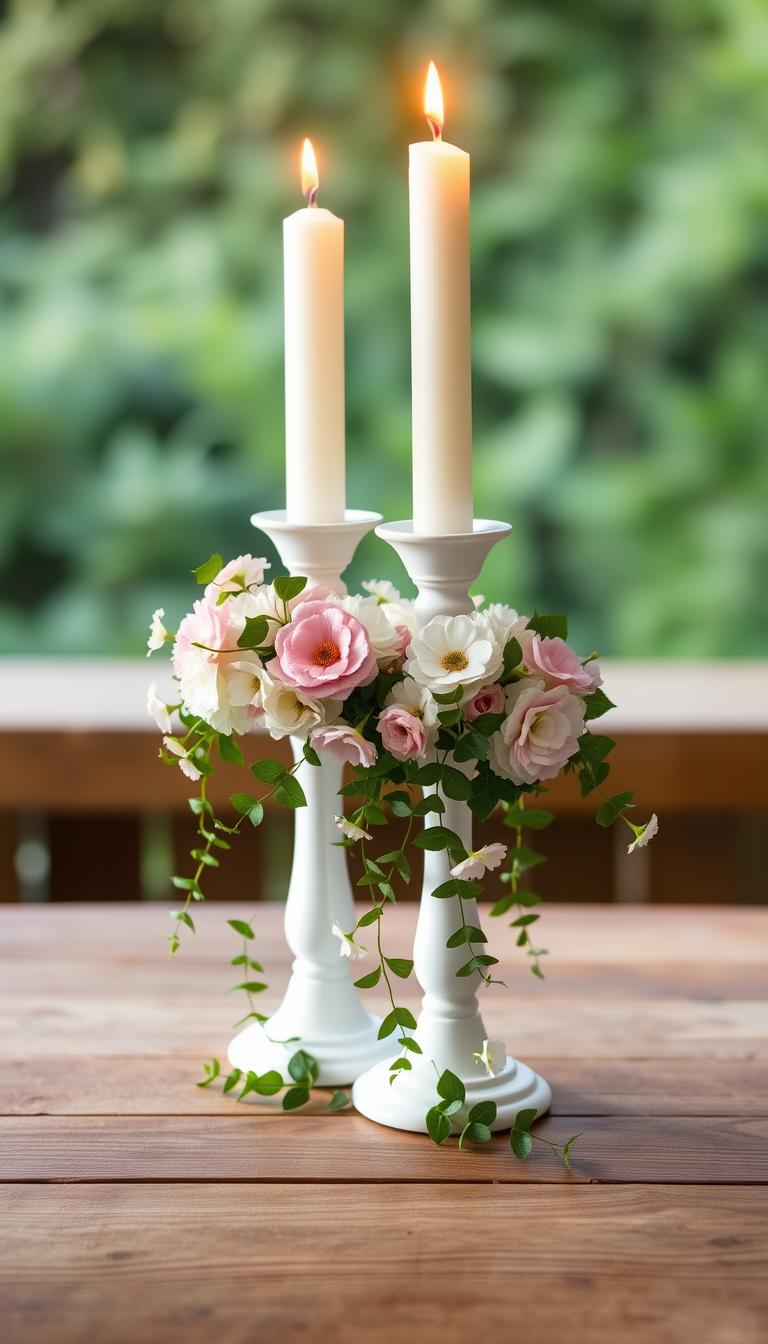
Start by cleaning your surfaces with alcohol to ensure the paint adheres properly. Mike Garten’s instructions suggest using paint markers and craft paint for detailed designs. Here’s how to make your candlesticks stand out:
How to Decorate Your Candlesticks
- Prepare surfaces by cleaning them thoroughly and letting them dry.
- Choose heat-resistant paints for safety, especially if the candlesticks will hold real candles.
- Experiment with symmetrical patterns or seasonal motifs for a personalized touch.
- Add floral designs using stencils or freehand techniques for a natural look.
- Consider using matching holders to create a cohesive set.
For a finishing touch, wrap your candlesticks in tissue paper or place them in a decorative box for gifting. These crafts are not only beautiful but also a meaningful way to add a personal touch to your home or share with loved ones.
Embellished Bow Basket: A Simple Yet Elegant Craft
Crafting an embellished bow basket is a delightful way to combine simplicity and elegance. This project is perfect for anyone looking to add a personal touch to their home or create a thoughtful gift. With just a few materials, you can transform an ordinary basket into a stunning piece of decor.
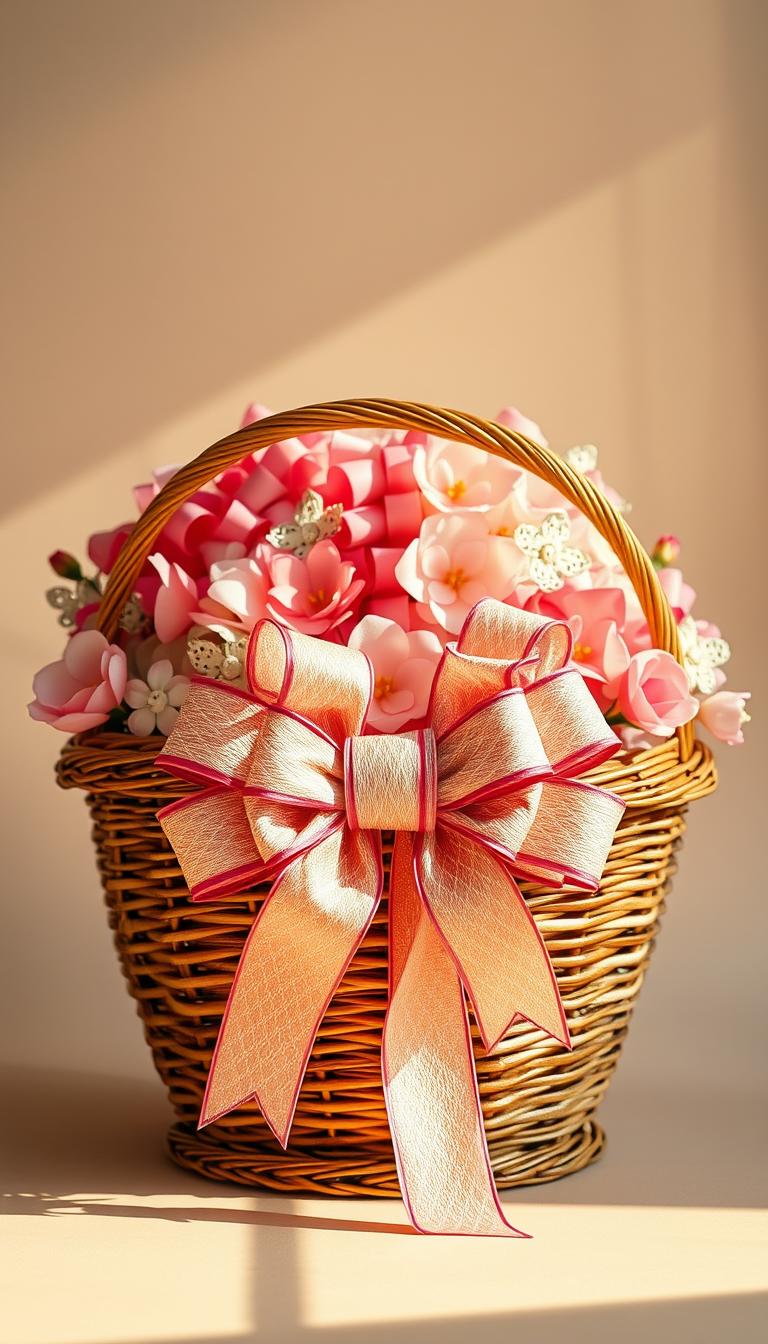
Start by selecting a 3″ wired ribbon and iron-on patches. These materials are easy to work with and add a polished finish. Use fabric glue to attach the patches securely, ensuring they stay in place even with frequent use.
Creating Your Embellished Bow Basket
Here are some tips to make your project stand out:
- Compare ribbon materials like satin, grosgrain, or velvet to find the perfect texture.
- Arrange patches in a symmetrical or asymmetrical pattern for a unique look.
- Create themed collections, such as seasonal or floral designs, for added charm.
- Allow ample drying time for the glue to ensure a durable hold.
- Line the basket with fabric or paper to protect its interior and enhance its appearance.
- Display your basket as a centerpiece or use it to store small items like keys or jewelry.
- Make handle covers using leftover ribbon for a cohesive design.
- Analyze costs by comparing ribbon types and patch sizes to stay within budget.
- Decorate the basket progressively, adding elements over time for a layered effect.
- Store the basket in a cool, dry place to maintain its shape and prevent damage.
This project is a wonderful way to explore your creativity while making something practical. Whether you’re crafting for yourself or as a gift, the embellished bow basket is sure to bring joy and functionality to any space.
Egg-Shaped Coasters: A Functional Gift
Functional and stylish, egg-shaped coasters are a creative way to add charm to your home. These handmade pieces are not only practical but also a thoughtful gift for loved ones. With just a few simple materials, you can create something both beautiful and useful.
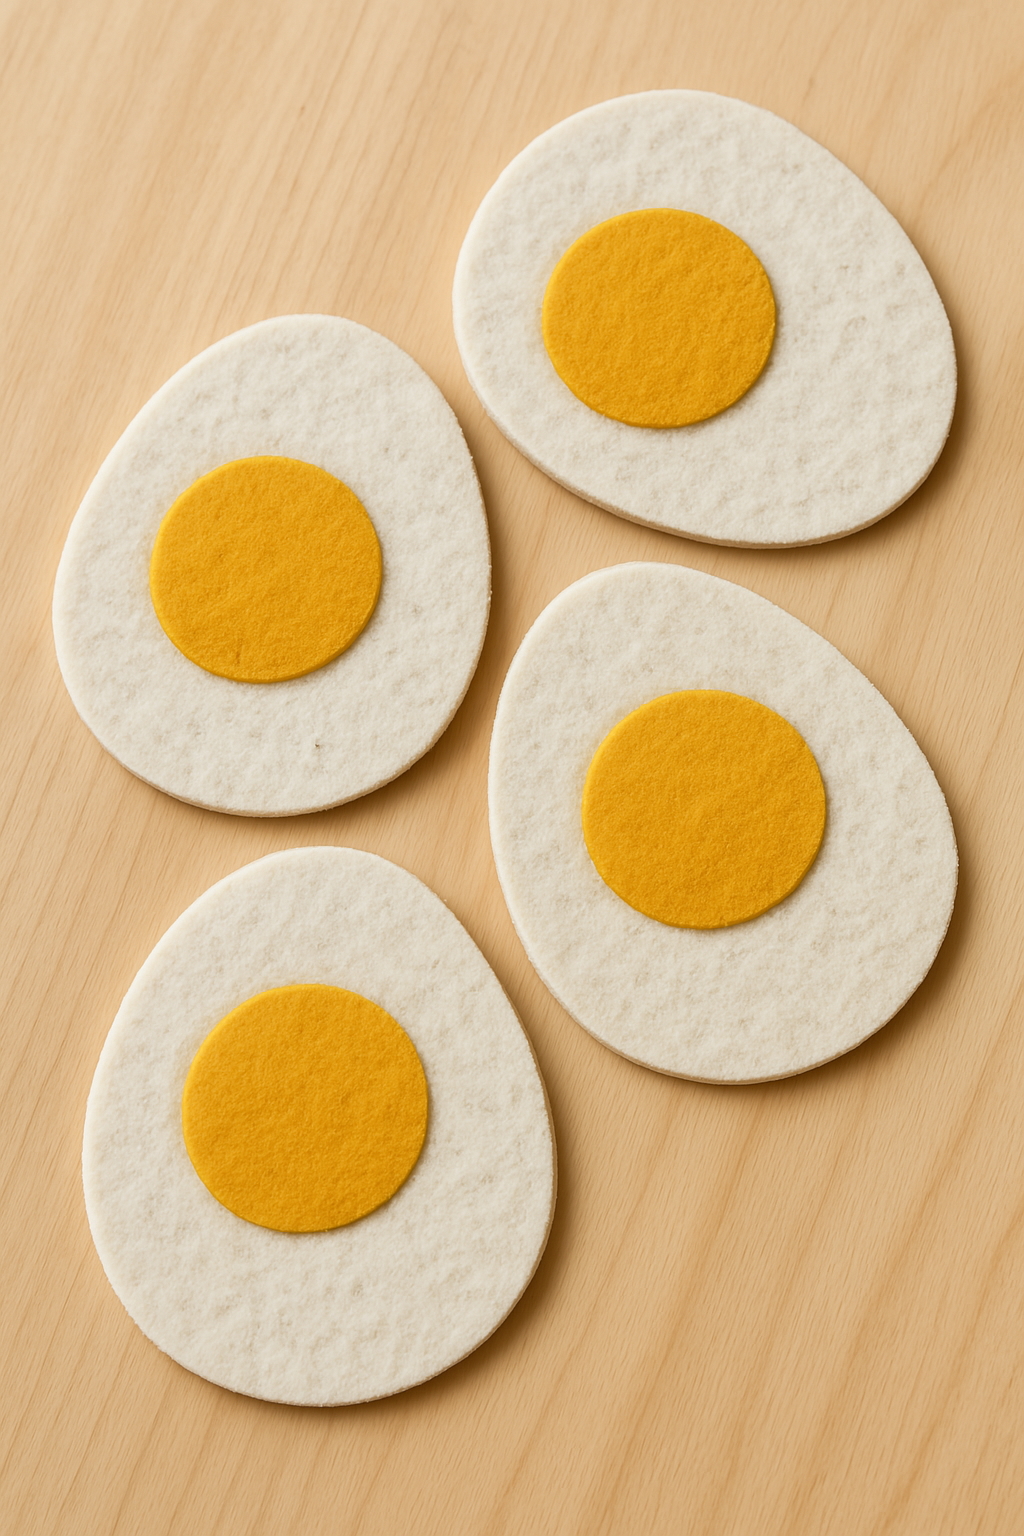
How to Make Egg-Shaped Coasters
Start by gathering your supplies: Mod Podge, acrylic oval bases, and fabric cut 1″ larger than the base. Here’s how to craft your coasters:
- Choose fabric types like cotton or linen for durability and ease of use.
- Apply Mod Podge evenly to the base, smoothing out any bubbles with a brush.
- Experiment with themed prints, like floral or geometric patterns, for a personalized touch.
- Add multiple sealant layers to ensure longevity and water resistance.
- Attach a non-slip backing for added functionality on smooth surfaces.
These coasters can also double as wall art when not in use. Create matching sets for a cohesive look or add monograms for a personal touch. Compared to store-bought options, this DIY project is cost-effective and allows for endless customization.
| Tip | Description |
|---|---|
| Fabric Type | Opt for cotton or linen for easy application and durability. |
| Bubble Removal | Use a brush or roller to smooth out air pockets. |
| Sealant Layers | Apply 2-3 coats of Mod Podge for a sturdy finish. |
| Non-Slip Backing | Use adhesive felt or rubber pads for stability. |
To clean your coasters, simply wipe them with a damp cloth. Store them in a cool, dry place to maintain their shape and finish. This craft is a wonderful way to add a personal touch to your house or create a meaningful gift for someone special.
Paper Flowers: Long-Lasting Blooms
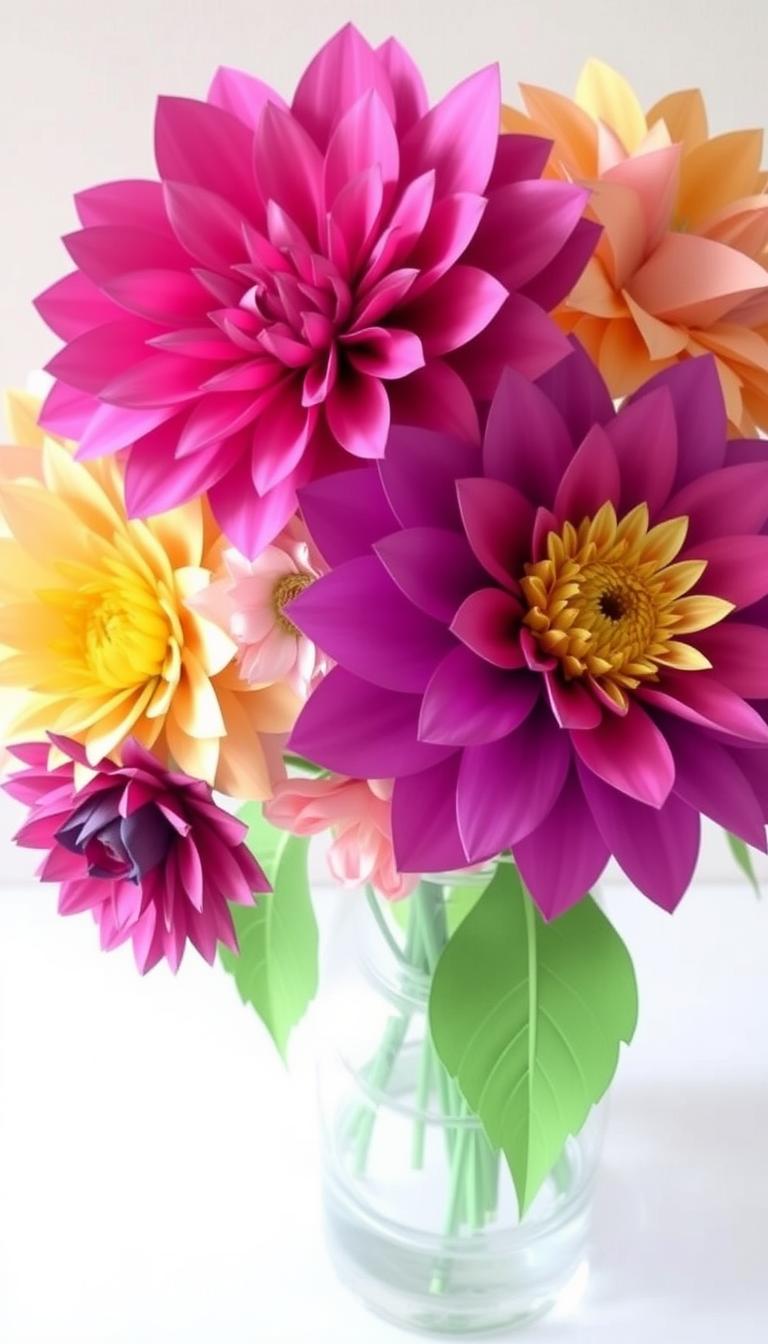
Paper flowers bring a touch of nature indoors, without the need for watering. They’re a creative way to add color and charm to any space, and they last much longer than real blooms. Using simple materials like cupcake liners and floral wire, you can craft stunning arrangements that never fade.
Steps to Create Paper Flowers
Start by gathering your supplies: cupcake liners, floral wire, and floral tape. Mike Garten’s method is perfect for beginners and offers endless possibilities. Here’s how to get started:
- Blend liner colors for a gradient effect, creating depth and dimension.
- Experiment with giant wall installations for a bold statement piece.
- Cut floral wire safely using wire cutters, and wrap stems with floral tape for a polished finish.
- Shape leaves realistically by folding and curling edges for a lifelike touch.
- Display your creations at outdoor events by weatherproofing them with clear sealant.
For a unique twist, try making boutonnieres or scented paper options using essential oils. These flowers are not only beautiful but also cost-effective. Preserve them by storing in a cool, dry place, and package them carefully for shipping or gifting.
This project is perfect for kids and adults alike, offering a fun and meaningful way to create something special. Whether you’re decorating your home or crafting a gift, paper flowers are a timeless choice.
Celebrate Mom with These Heartfelt Crafts
Handmade gifts carry a unique emotional weight that store-bought items simply can’t match. They’re a beautiful way to show mom love and create lasting memories. Whether it’s a mother day card or a small craft, these projects are perfect for all skill levels.
Start planning early to make the most of your time. Combining multiple small crafts can result in a thoughtful mother day gift that’s both personal and meaningful. Don’t forget to add a personal touch—it’s what makes these creations truly special.
These projects are budget-friendly and can even become new family traditions. Share your results on social media to inspire others and celebrate your creativity. Remember, it’s the thought and effort that count the most.
So, gather your supplies, involve the kids, and let your imagination run wild. Your moms will cherish these heartfelt gestures for years to come. Don’t forget to snap a photo of your finished crafts—we’d love to see what you create!
